Don’t know what the deal is with not being able to find cargo trays in just about every size. You’ve got companies like MORryde that make a lot of sliding trays, but then again… not really. I mean they have several sizes! But you can’t get get them in like every inch increment you might want.
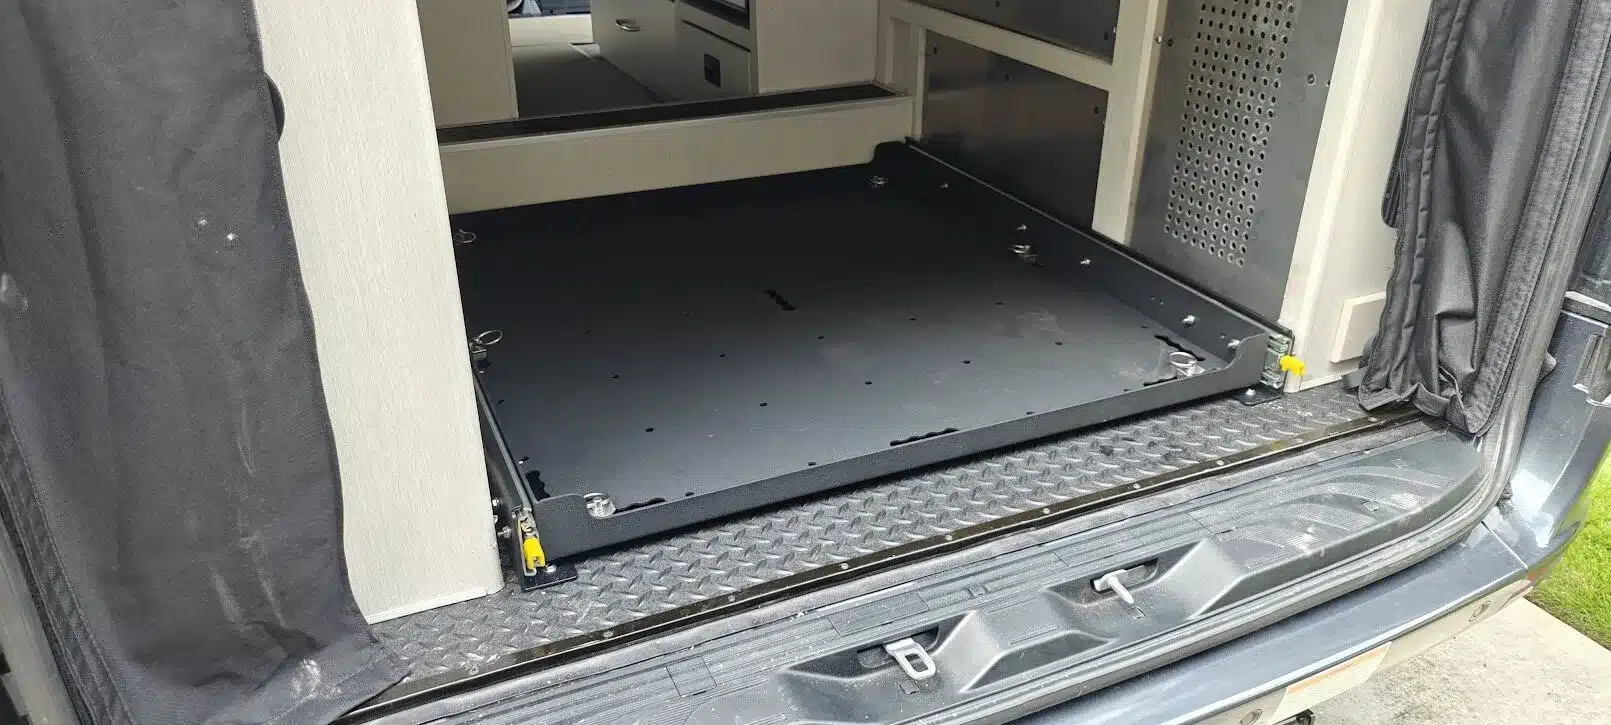
Anyway, I need a 40″x40″ sliding tray for the back of my Sprinter van, so since there isn’t one out there I decided to design it myself. To start with, I’m designing this to work with some basic Amazon 40″ locking slide rails.
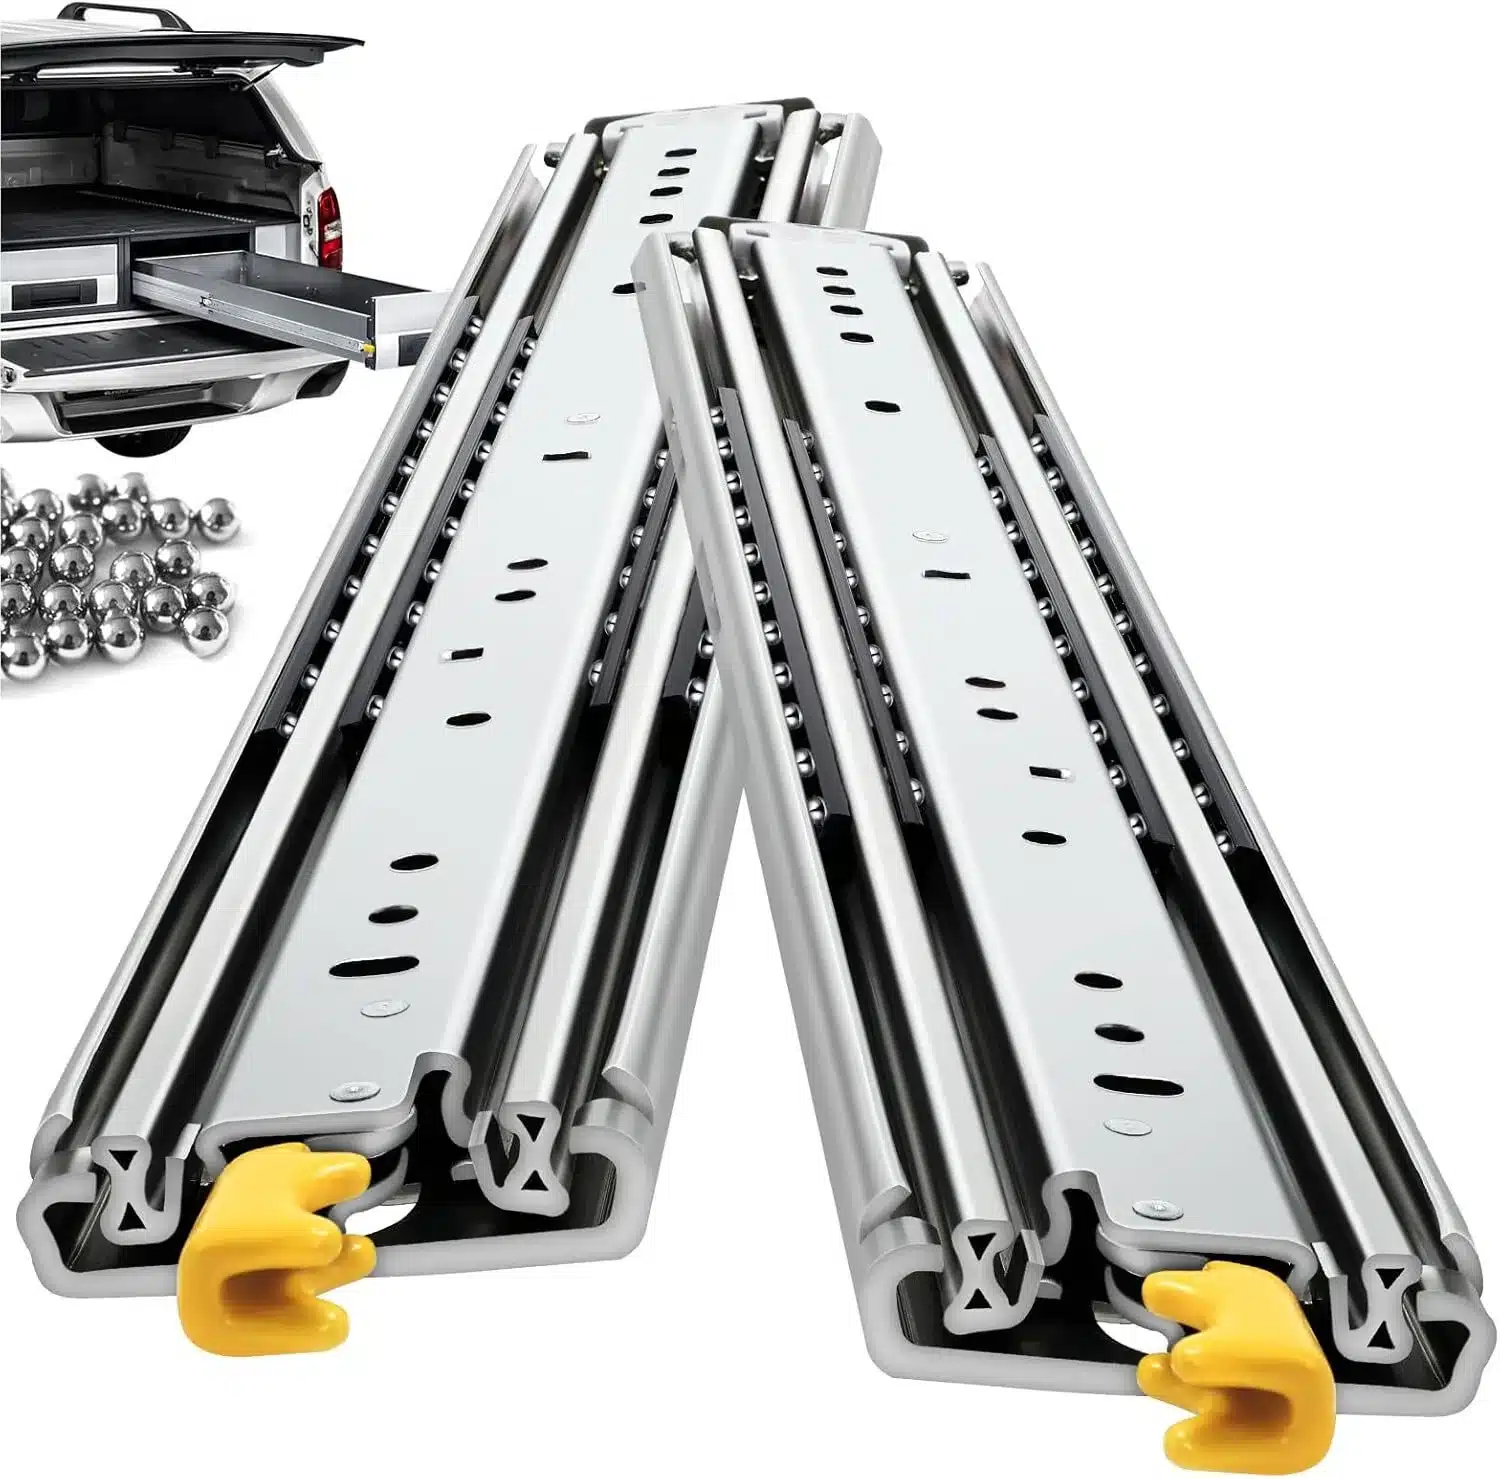
The worst part of this is that they don’t have any models of the rails that you can use to figure out where all the holes are, so I just ordered the set and then measured all the holes by hand. I then used them to design a set of mounts to bolt to the floor of the van.

The good news is that once one side was designed, it just needed to be mirrored to create the other. They are identical – they just have to be bent in opposite directions when it’s time for that.
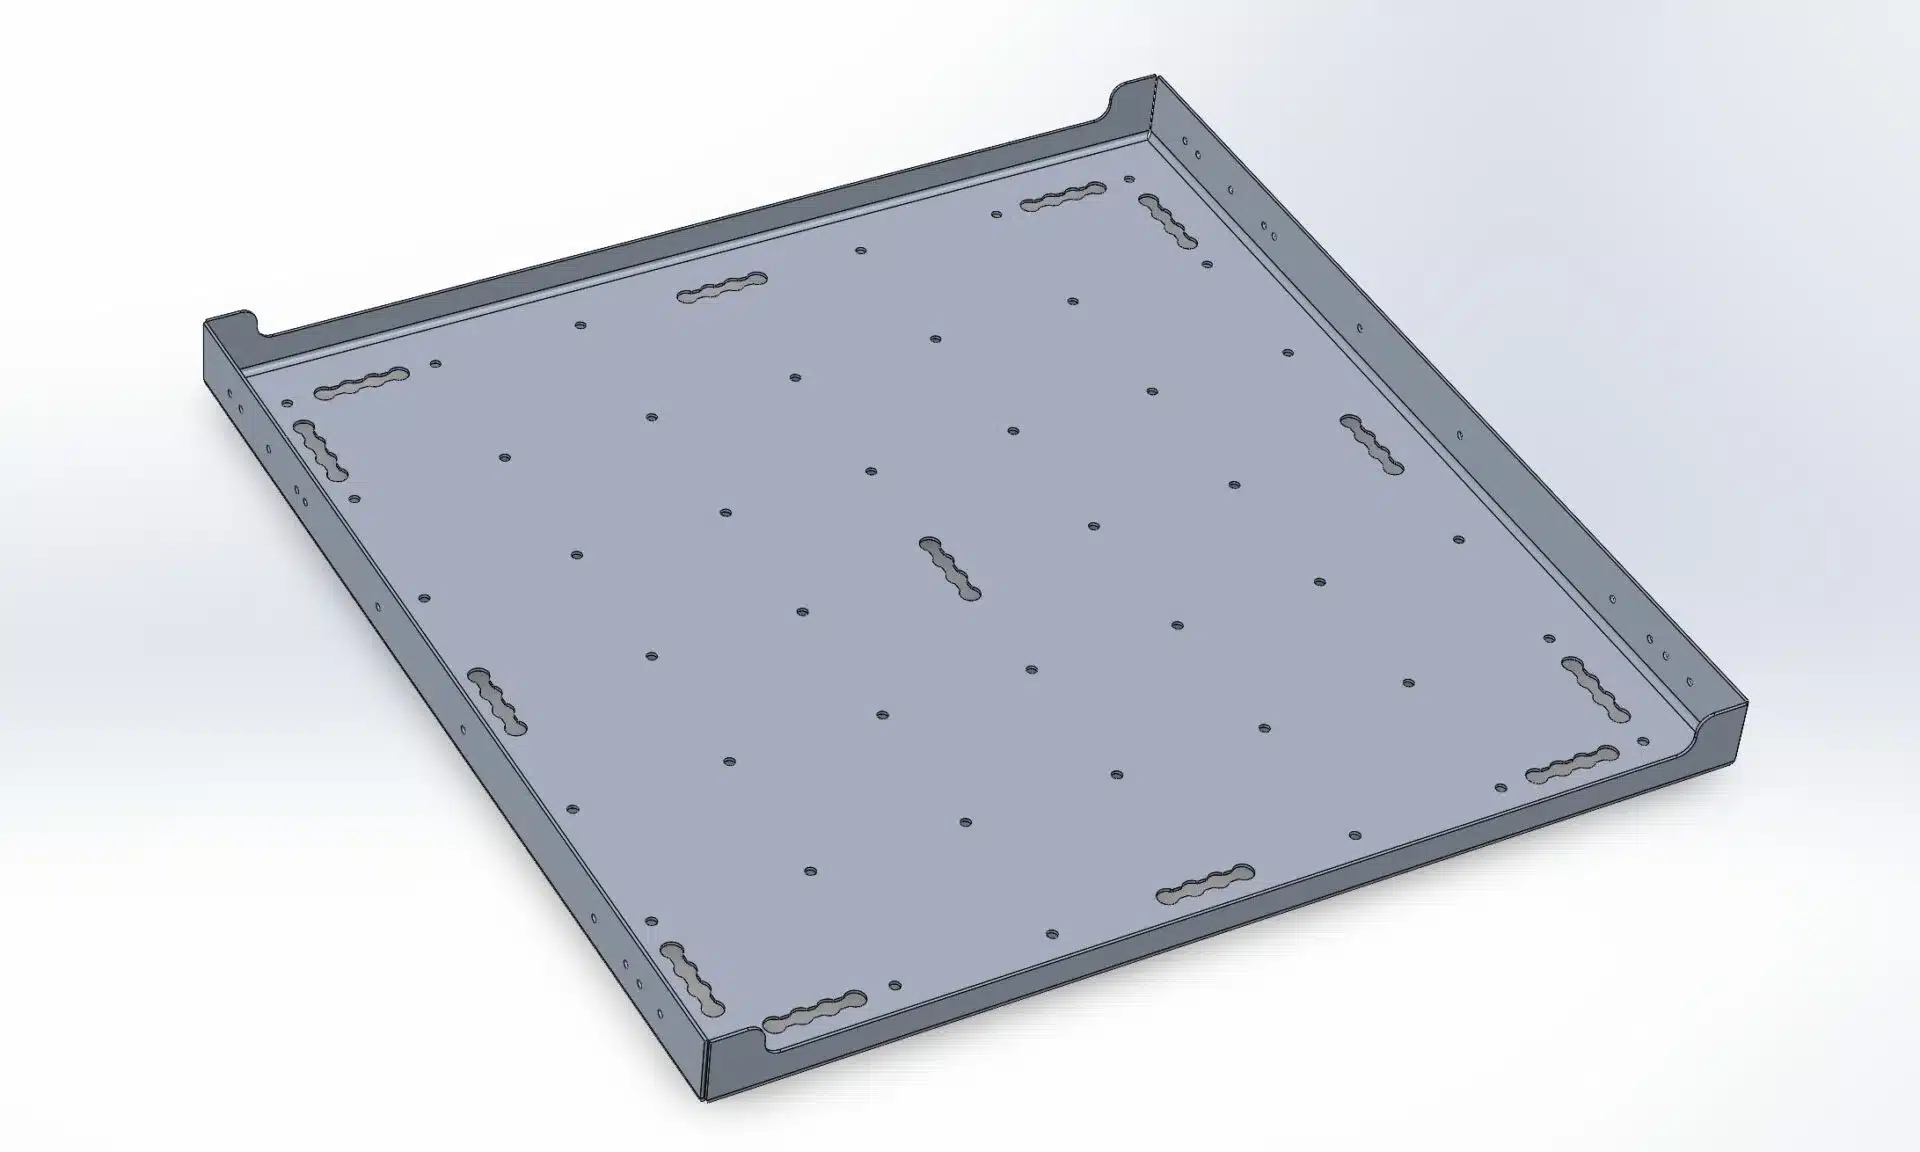
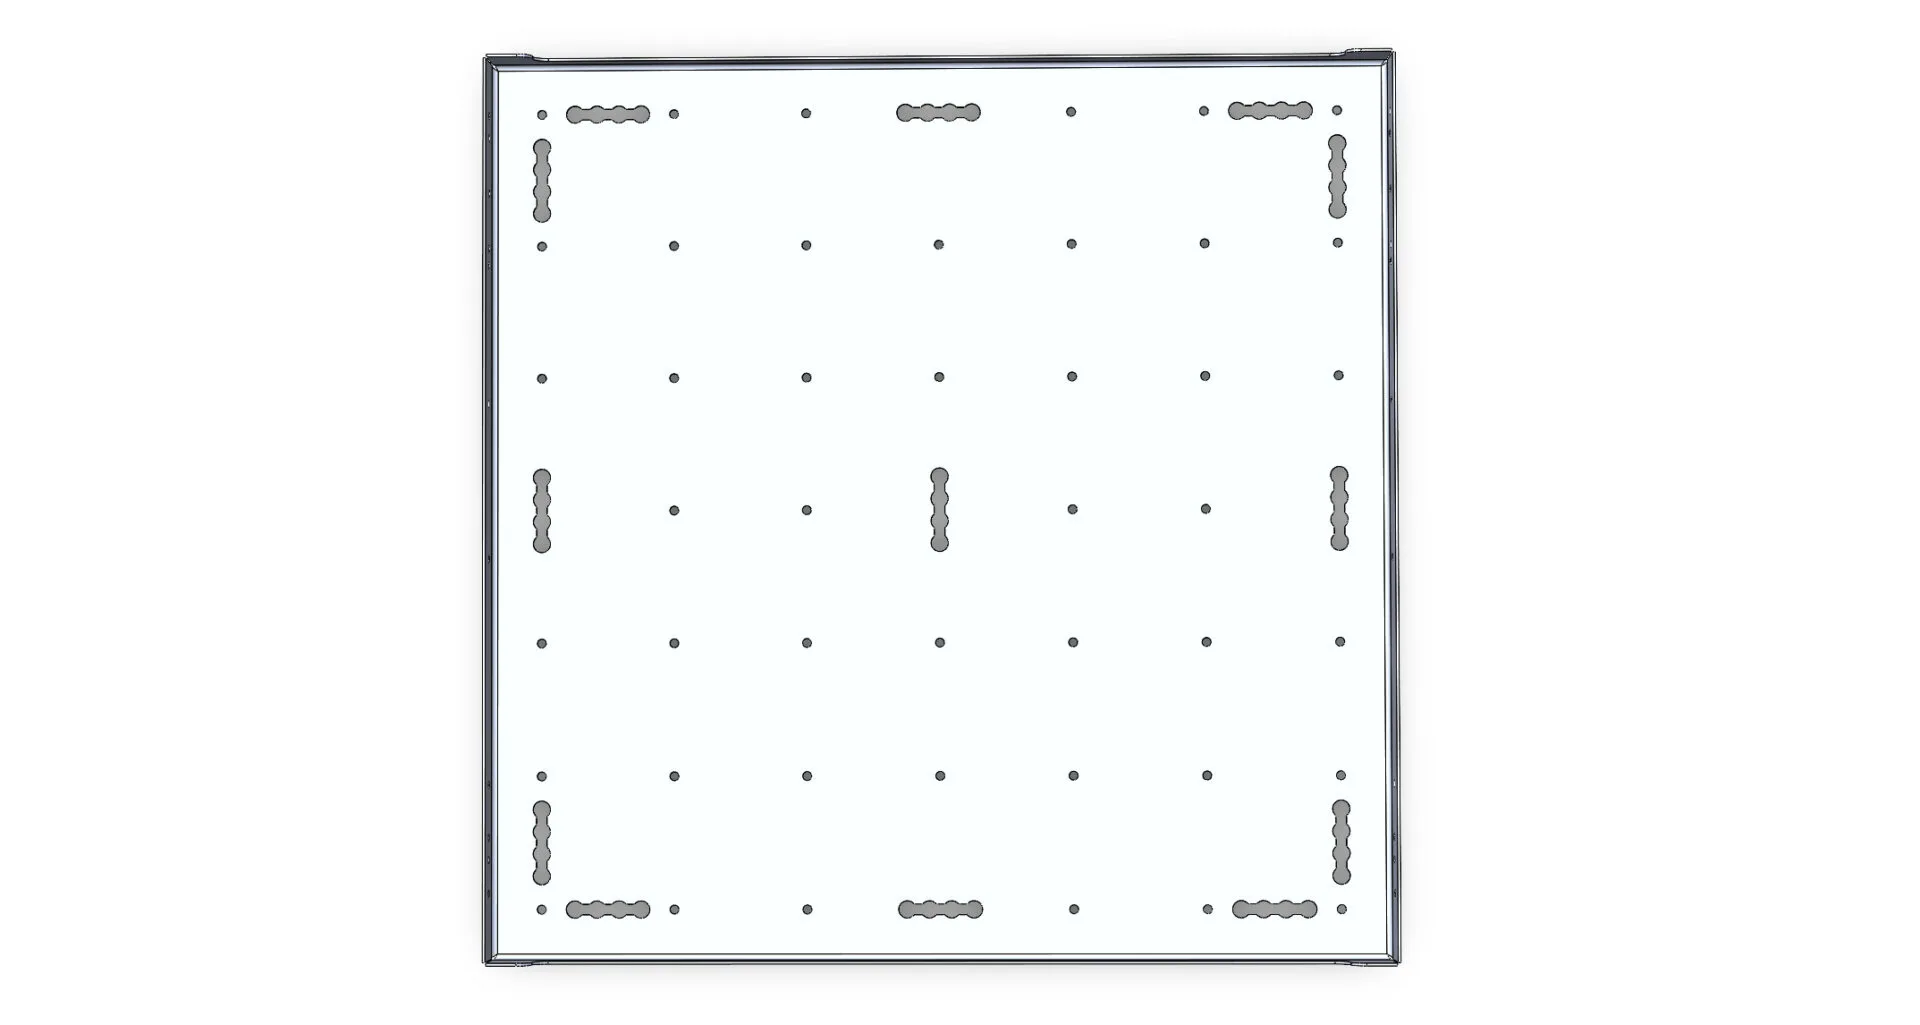
Next, I worked on the tray design. The outer dimensions are actually 40.25″ in both directions, with an ID of 40″. The tray is to be made from 1/8″ aluminum, with 2″ flanges on the sides, and 1″ flanges front and back. The slides are each .75″ thick, so the overall width with the tray mounted with the slides will be right at 42″, which is about what I have available in my Sprinter.
Now, the goal is to be able to put 500 pounds on this tray, and the aluminum is a little thin for my liking.
So to stiffen it up a bit, I’m adding a couple of channels underneath that will be welded in place.
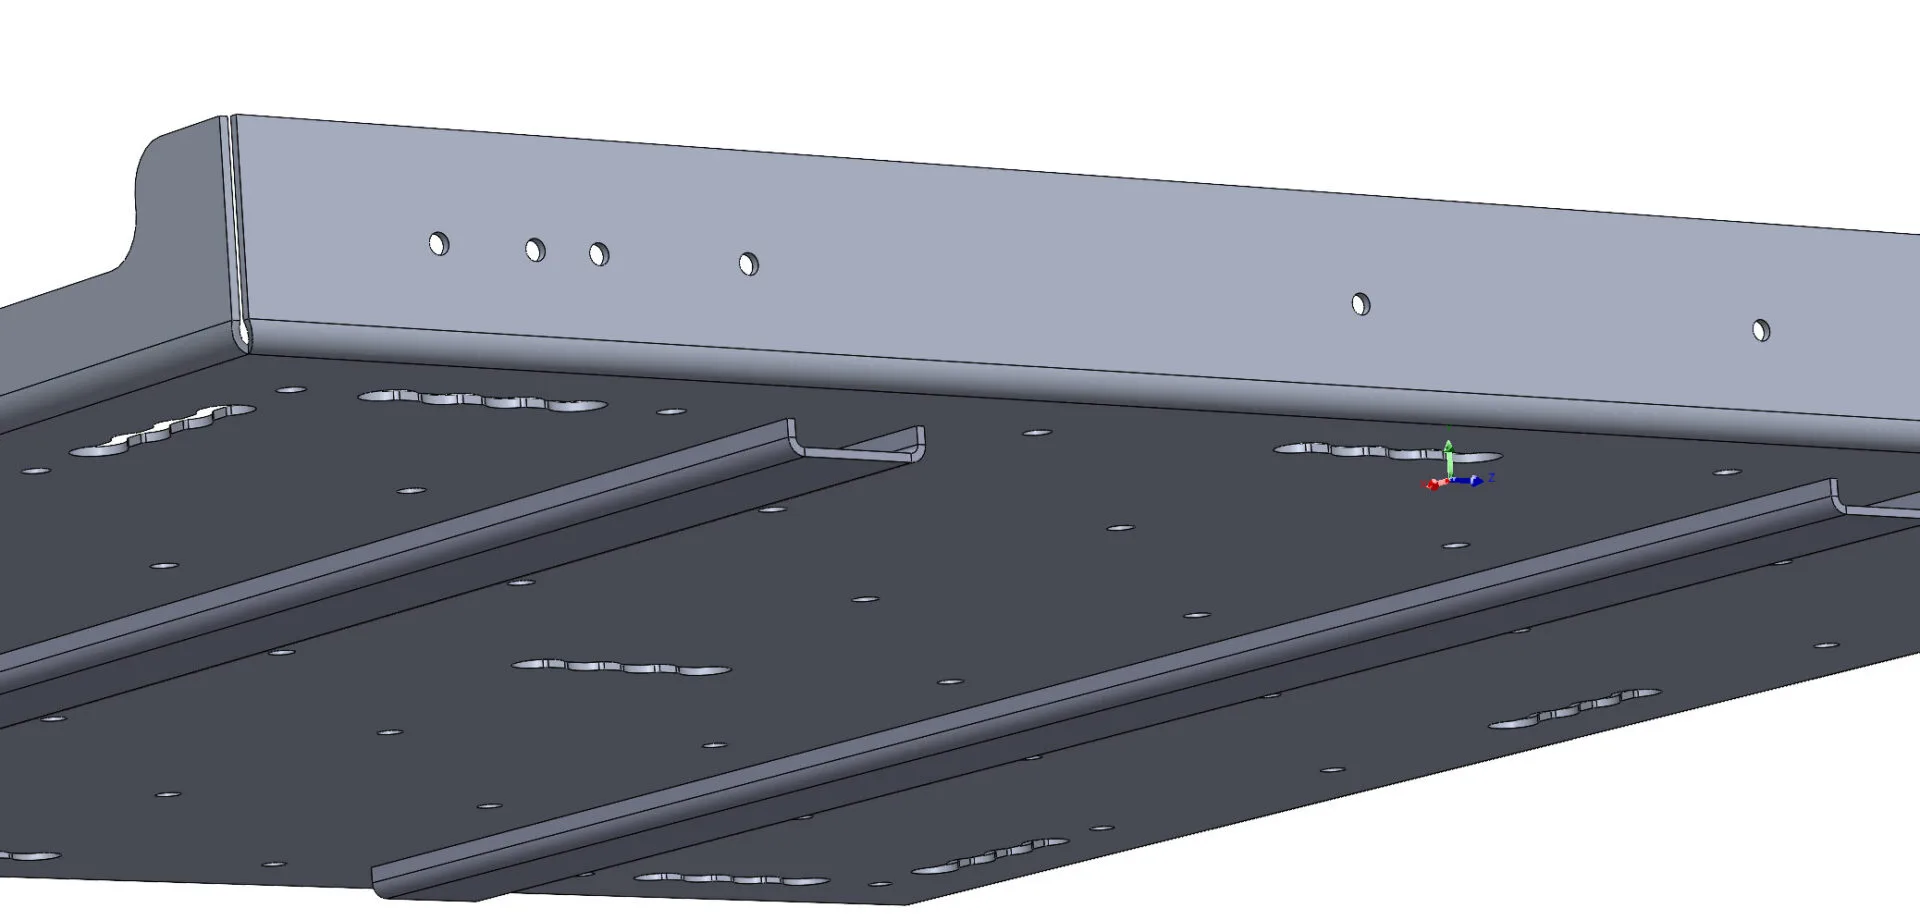
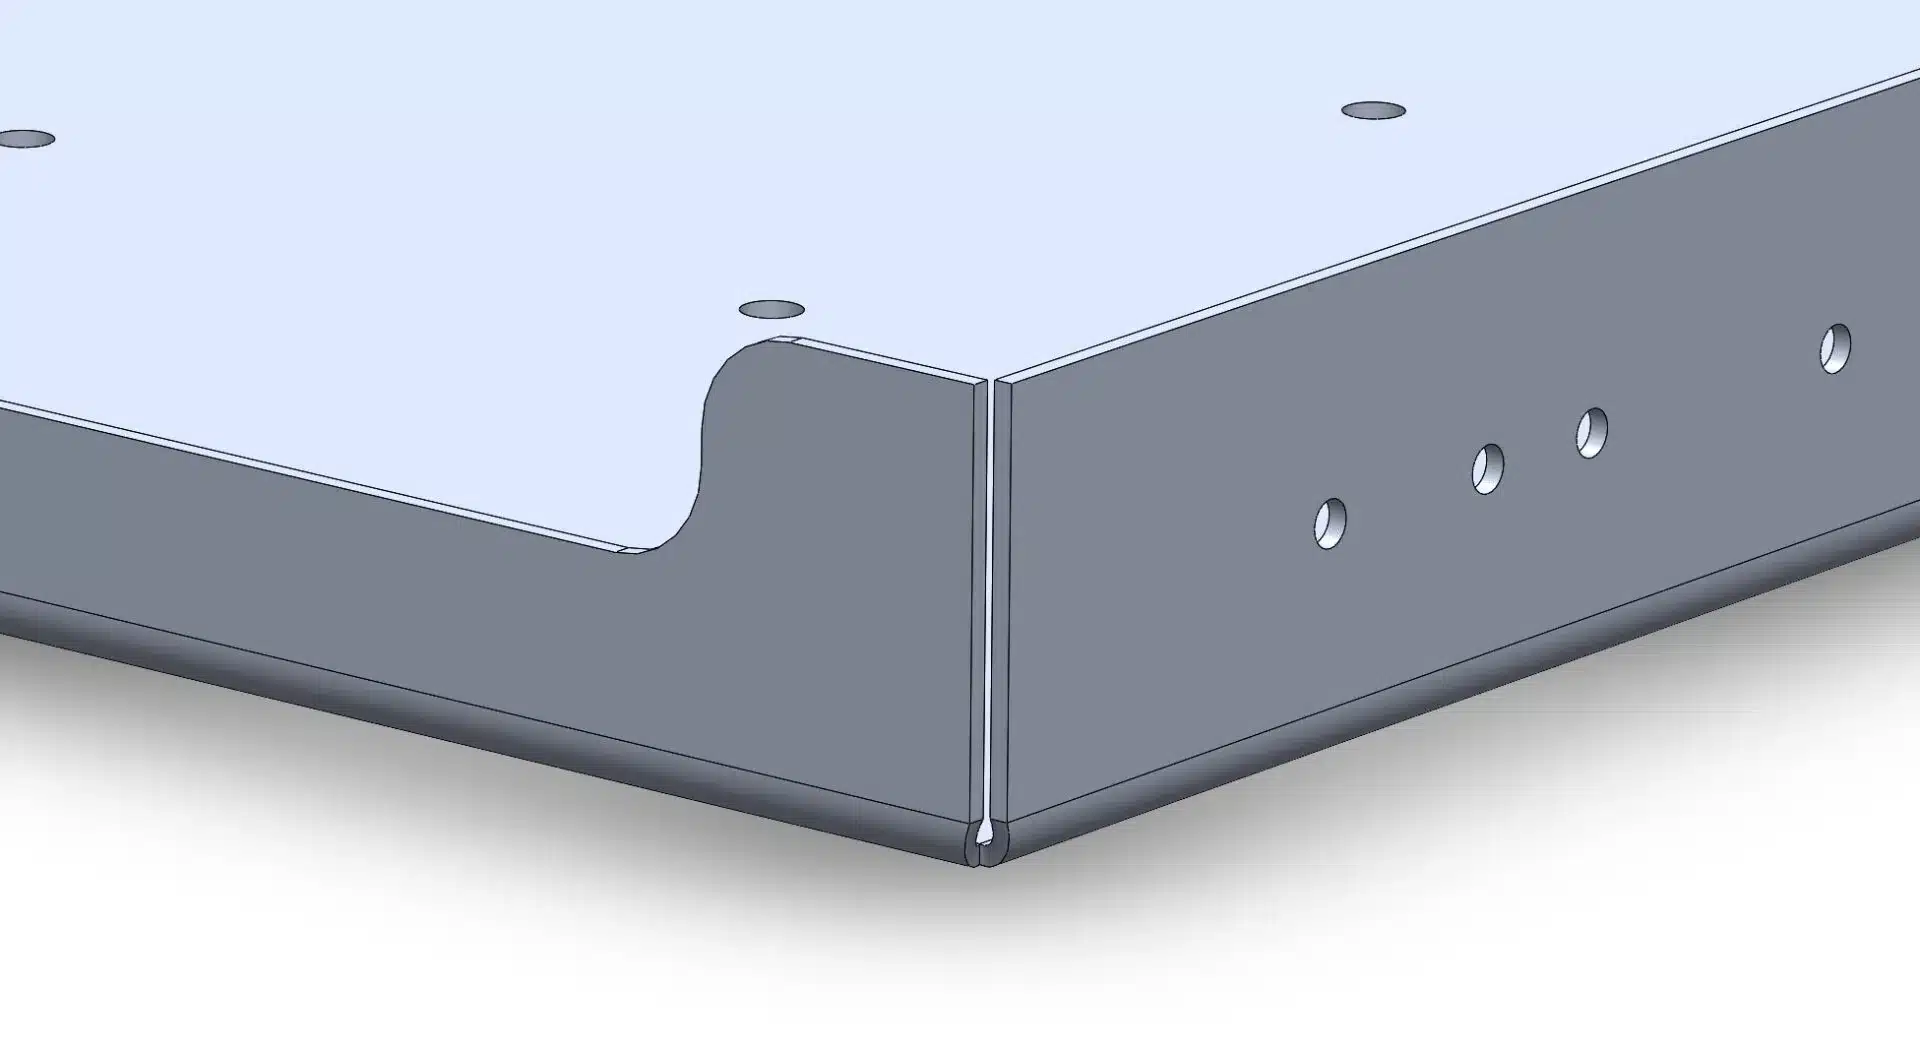
Speaking of welding, the corners will be fully seam welded to help make it more rigid.
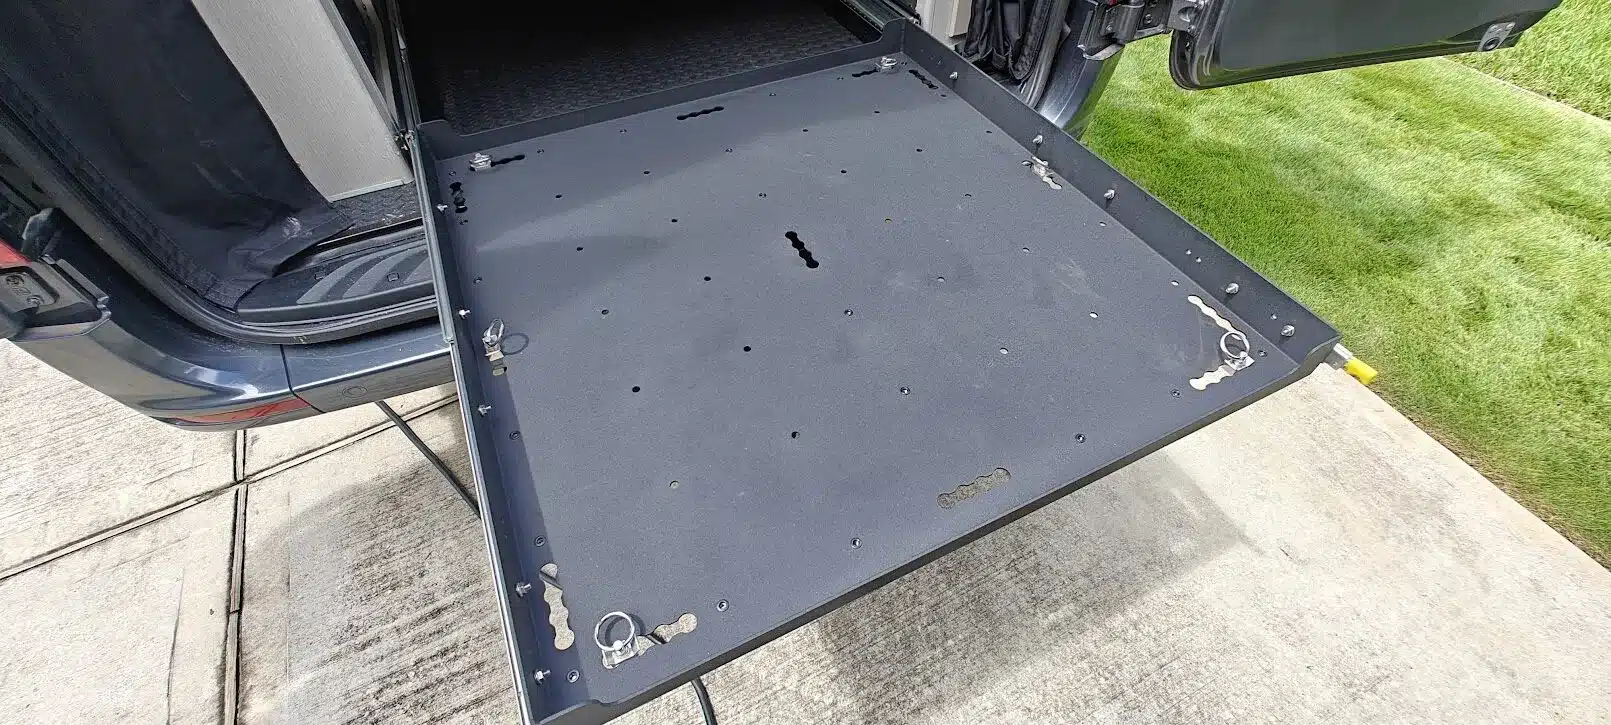
Finally, I want to be able to secure things to the tray since I’ll be driving around, so I’m adding a ton of holes that can be used for either bolting through, or preferably to add nutcerts and just bolt into. I’m also adding some L-track slots so that standard tie-downs can be used.
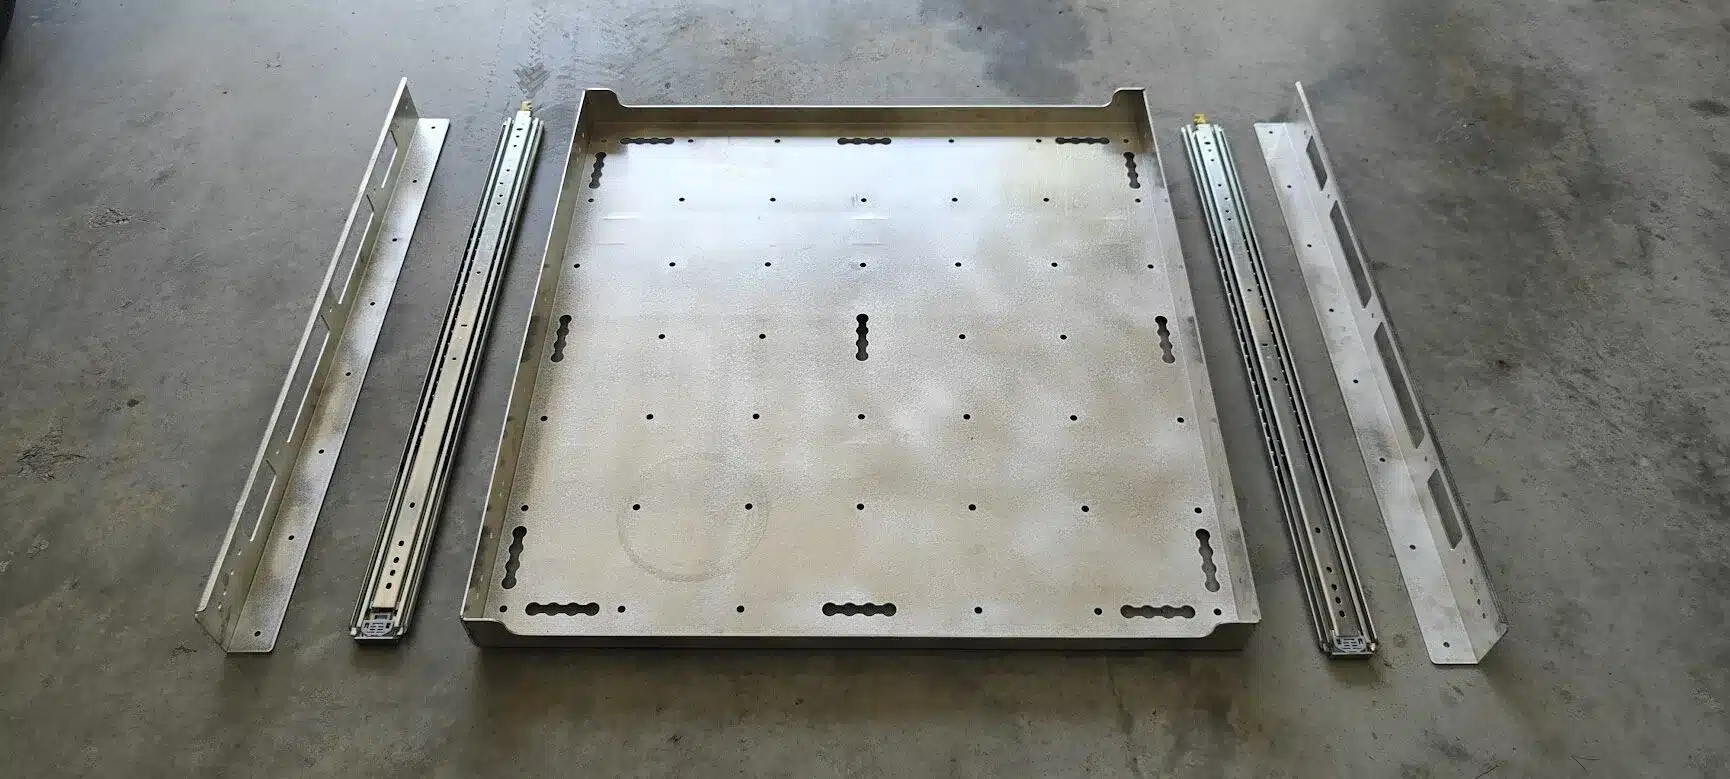
So basically this requires 5 parts – the tray and it’s two stiffeners, plus the two slide mounts. Parts have to be laser cut, bent, then powder coated. But after that the rails just have to be bolted on and the mounts secured to the floor in the van! That’s as far as I’ve gotten, but it’s time to commit to metal now. I’ll give more updates later.
I think this would be a relatively simple task to change the dimensions on the trays. The only tricky part is that each of the sliding rails will have a different hole pattern. So it would make much more sense to go with rails from a vendor that publishes actual models of their parts so they can be incorporated into the models and not require manual, potentially inaccurate, measurements.
John P.
Texas Metal Works
Founder
1 user thanked author for this post.

- You must be logged in to reply to this topic.