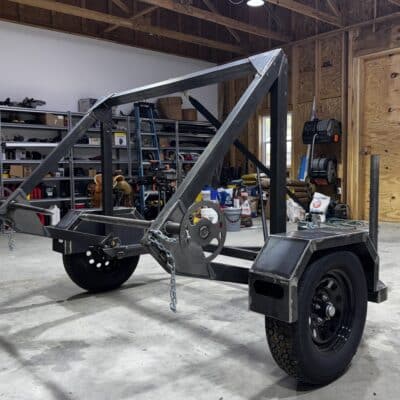
DIY Hay Bale Unroller and Transporter – BALE BUGGY
Price range: $2,499.00 through $5,999.00
NOTE: Price INCLUDES SHIPPING!!! 🙂
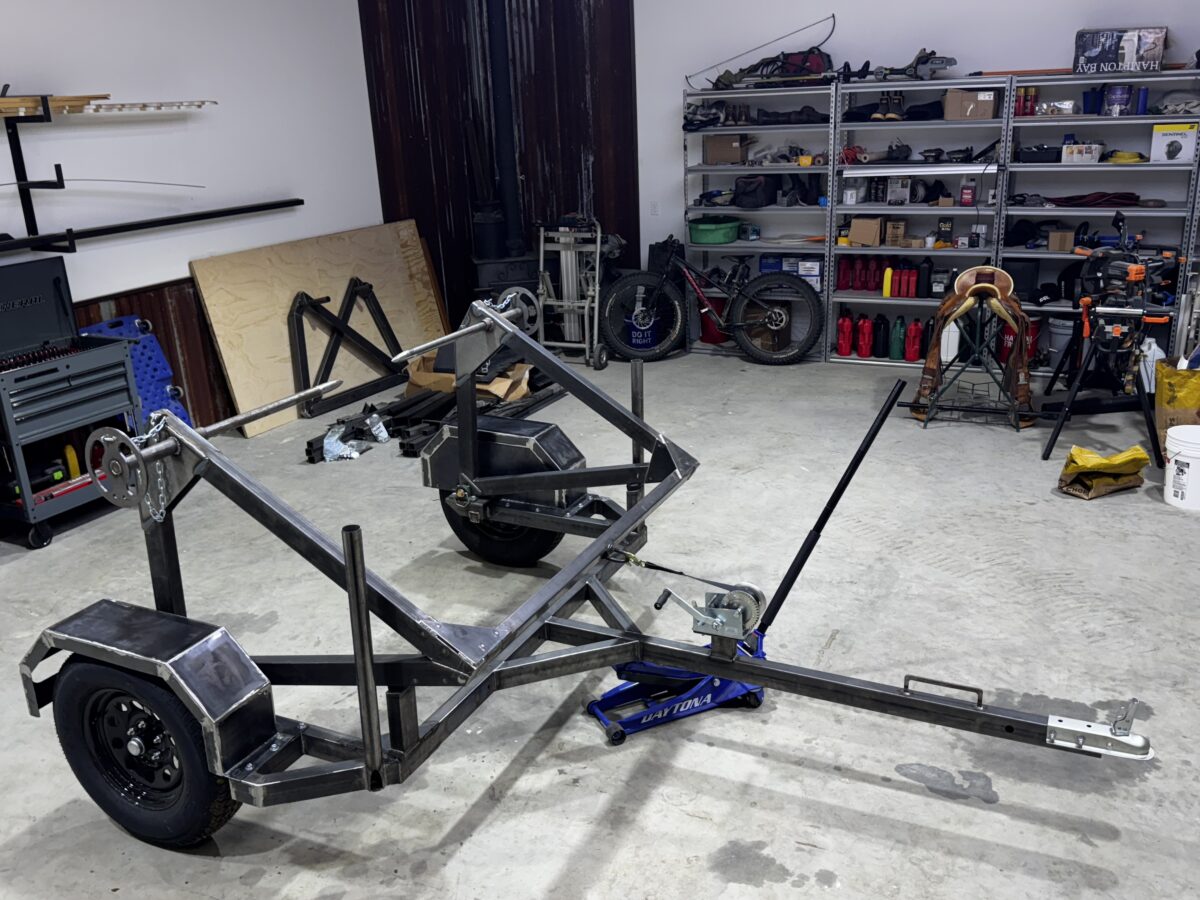
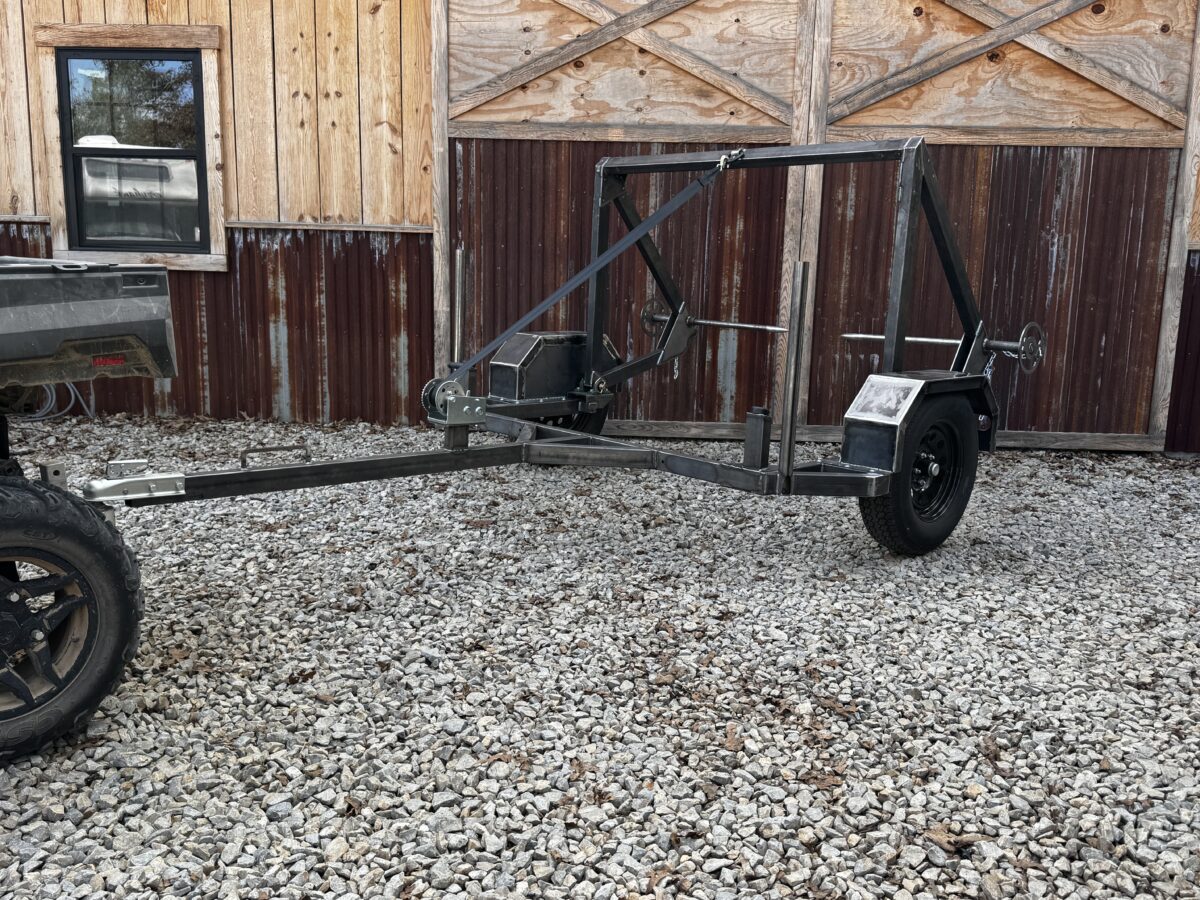
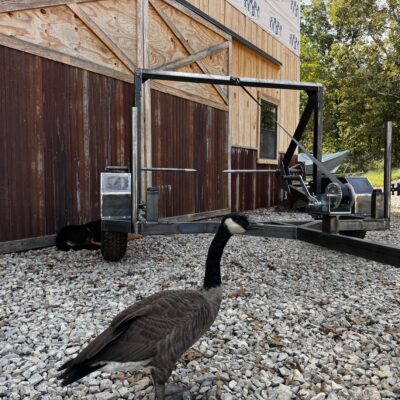
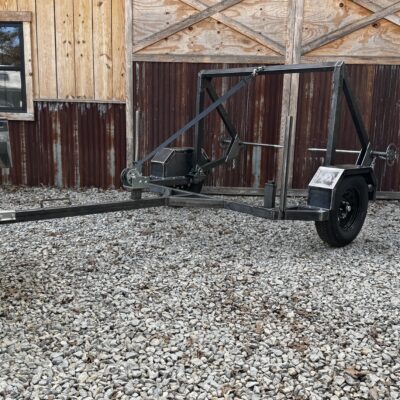
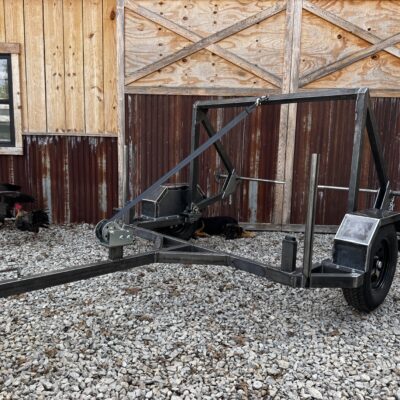
We’ve teamed up with Wes from Tick Creek Ranch to co-develop our best in class hay bale transporter, and we’re making it available as a complete DIY project kit! Or if you’d prefer to have our professional fabricators just send you a completed bolt-together unit, we can do that too. 🙂
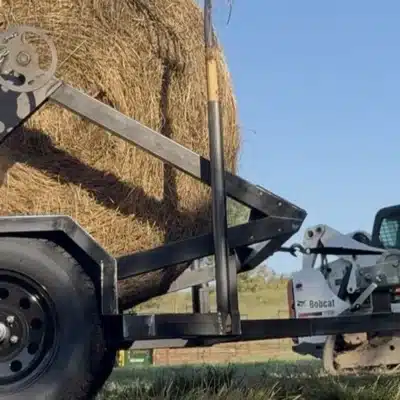
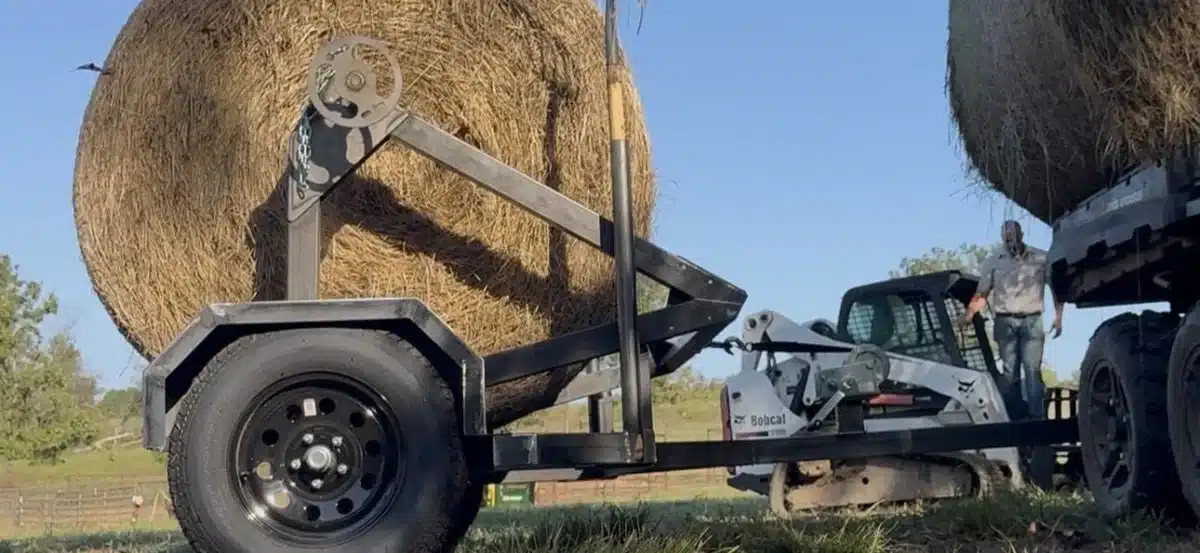
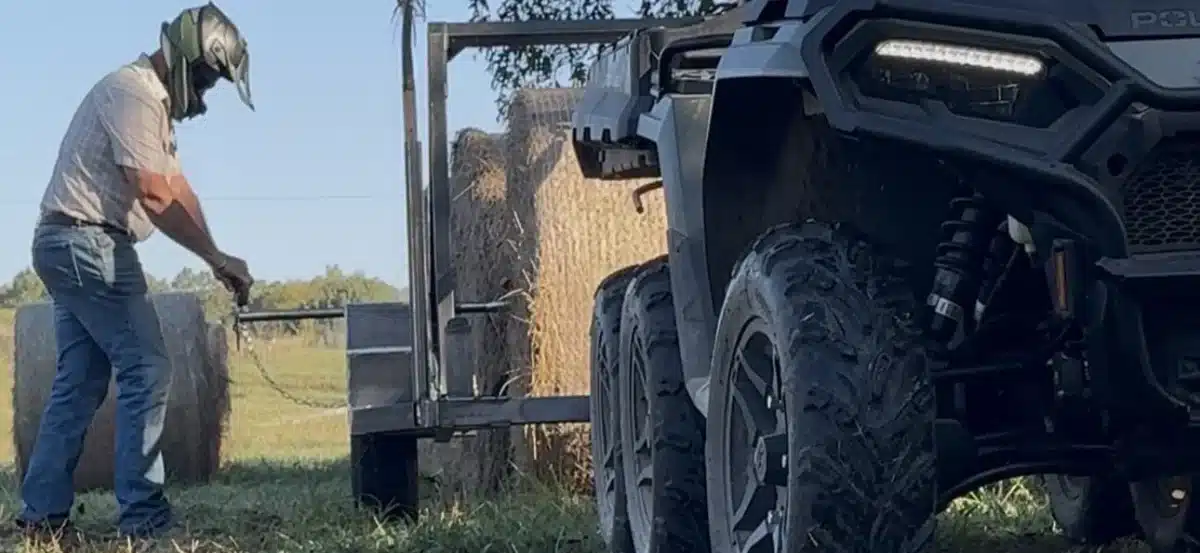
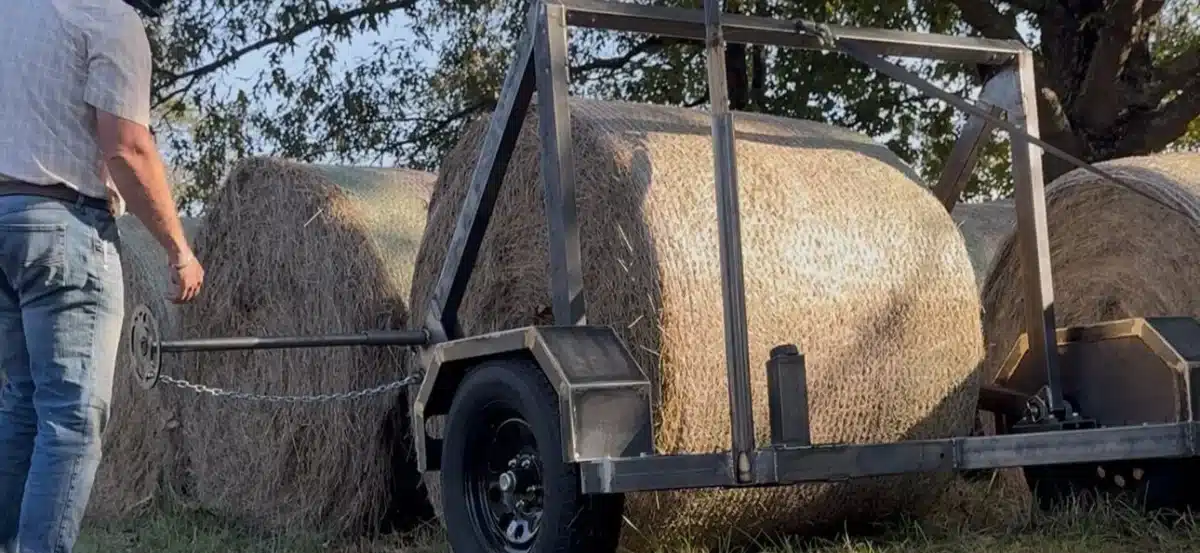
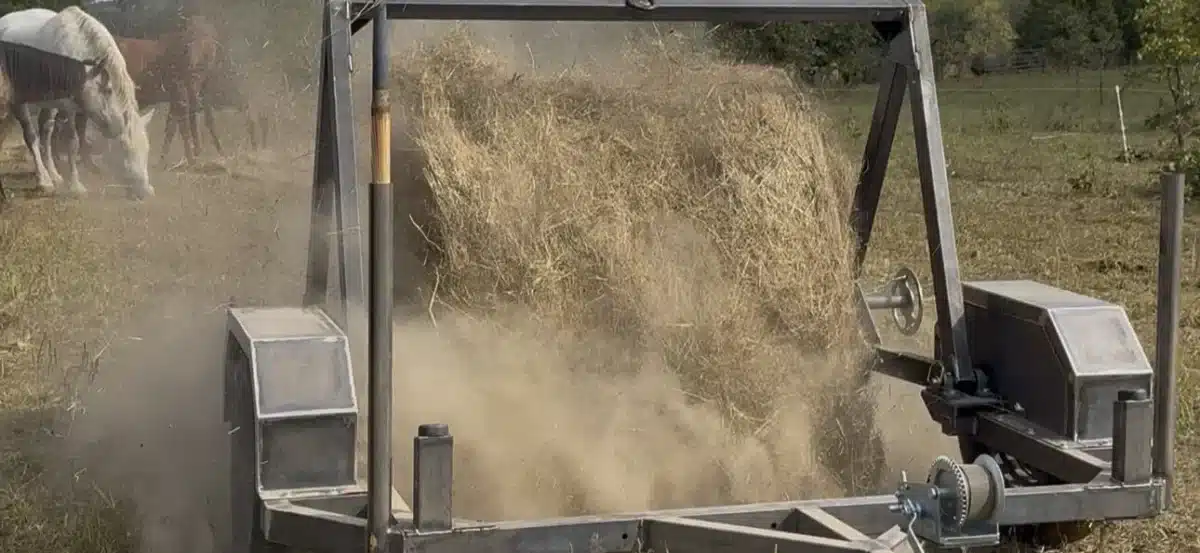
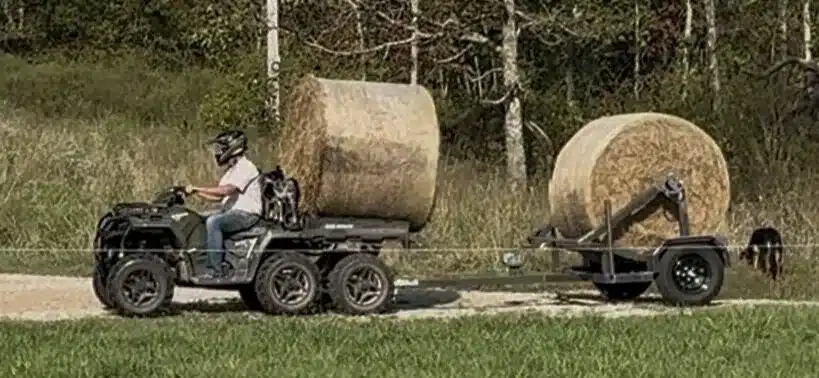
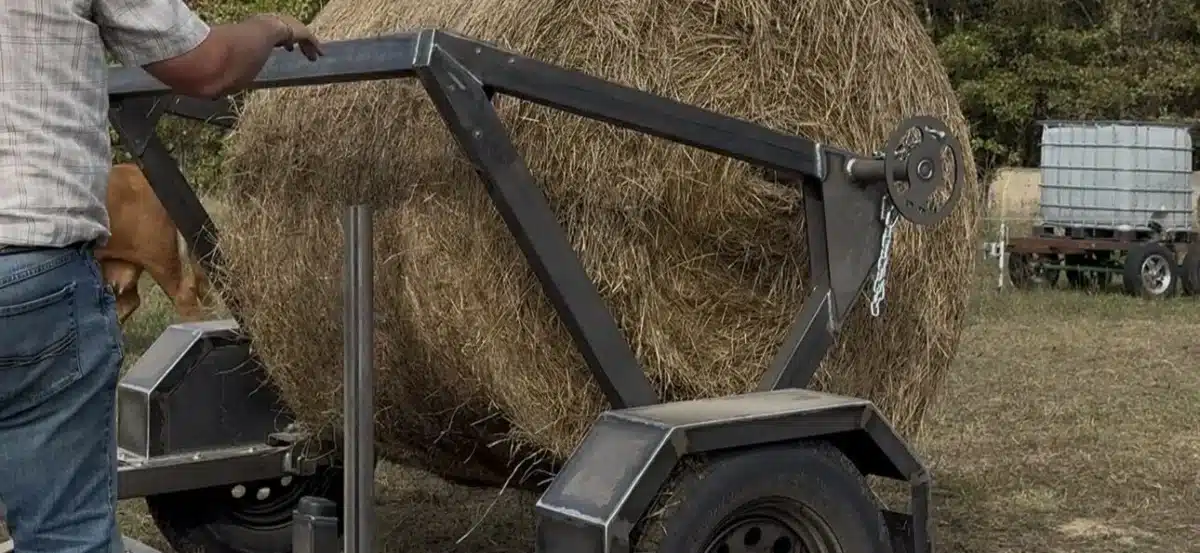
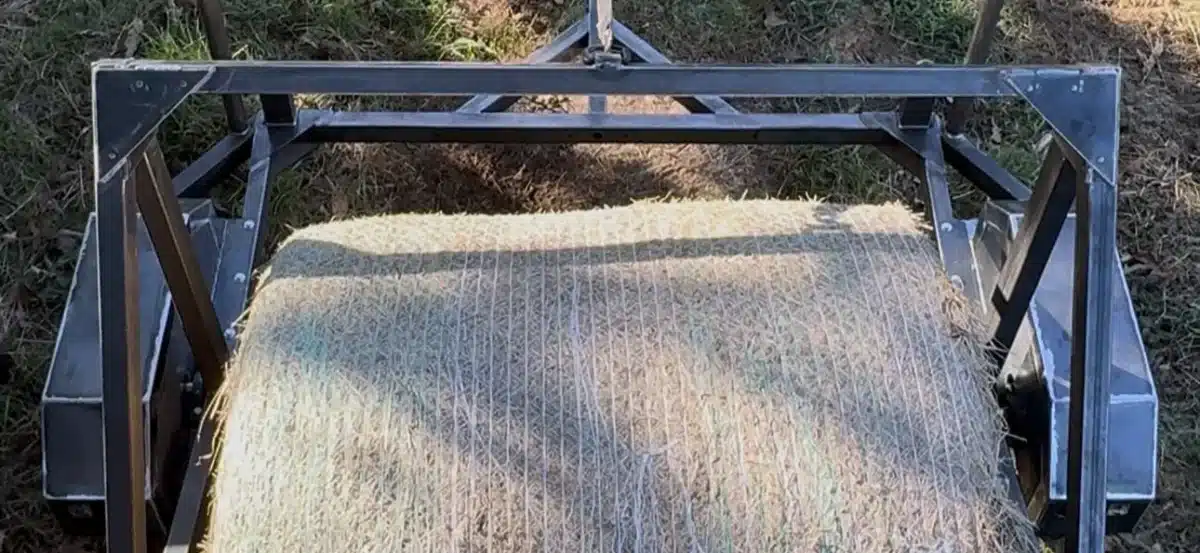
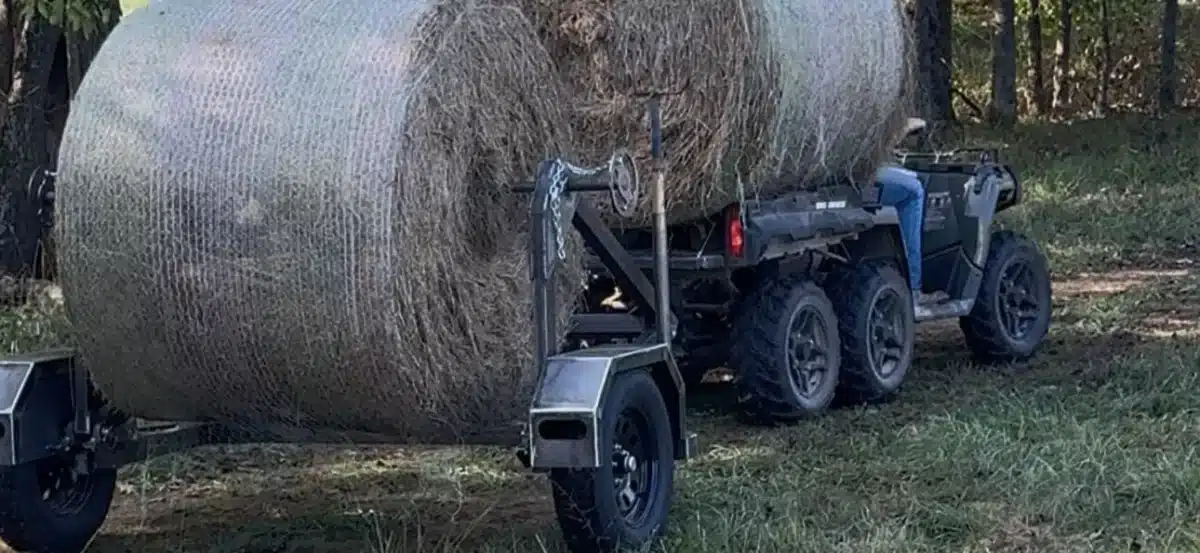
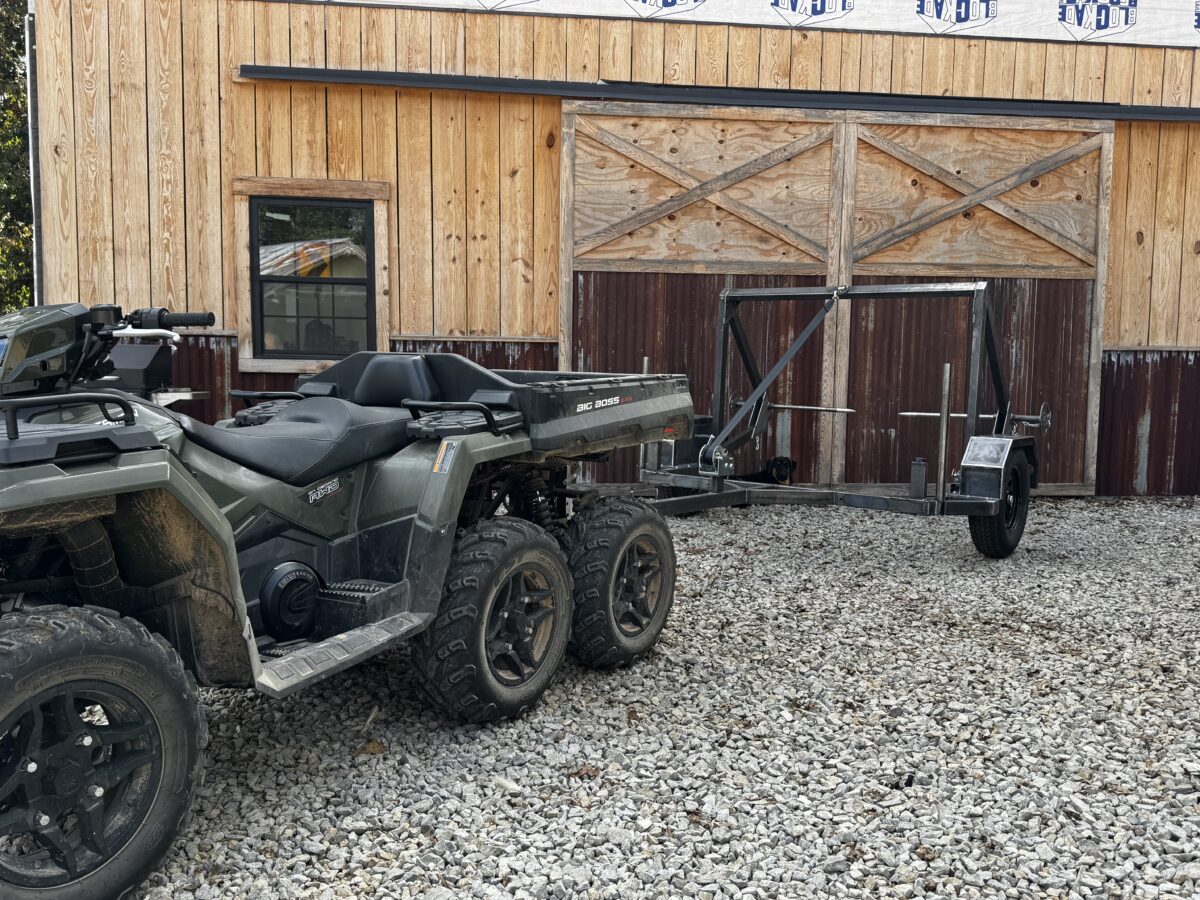
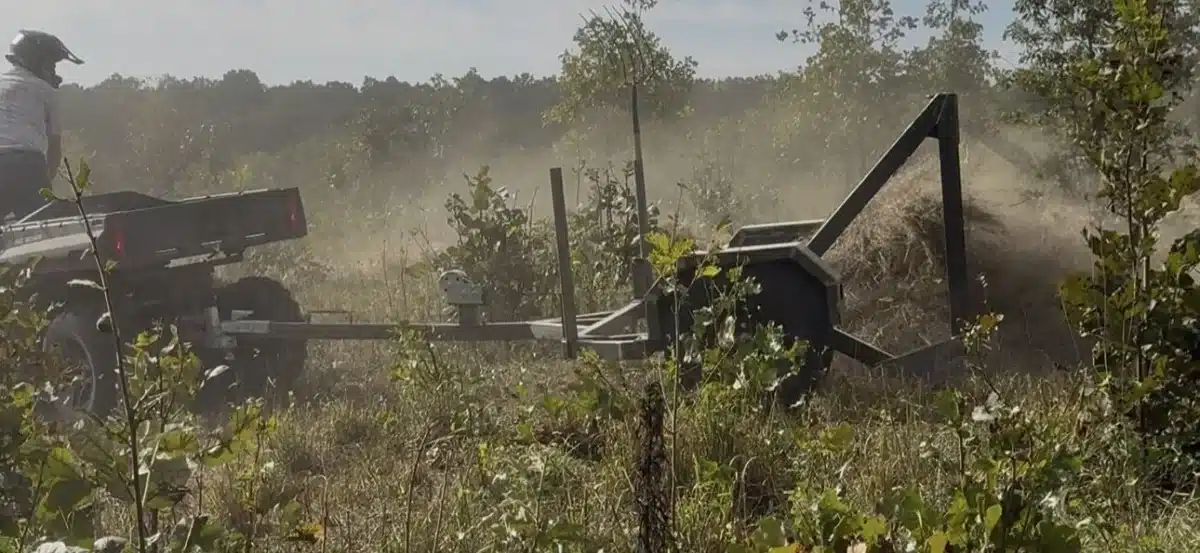
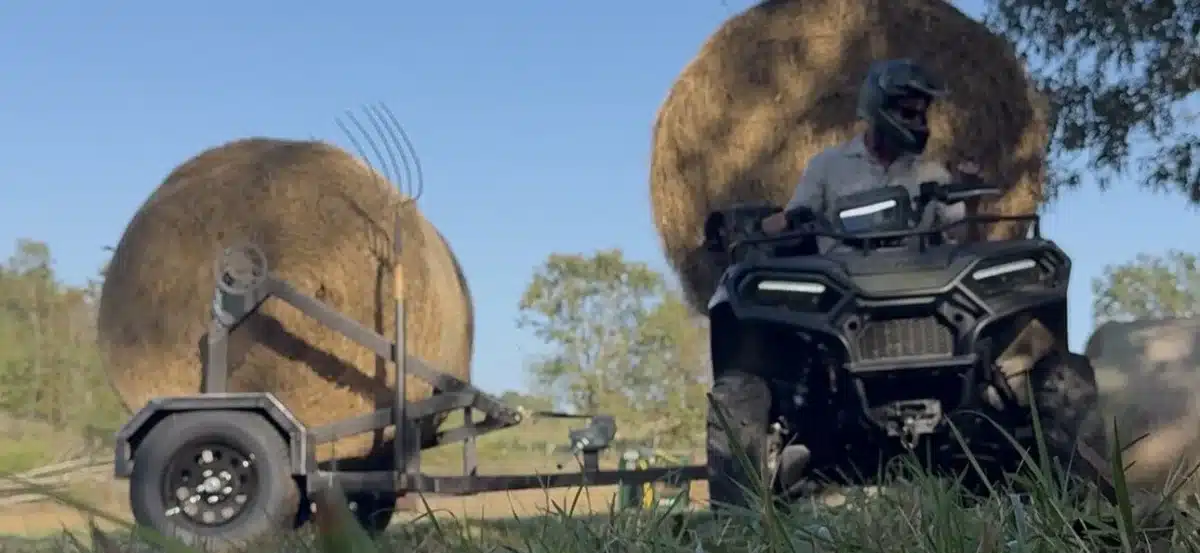
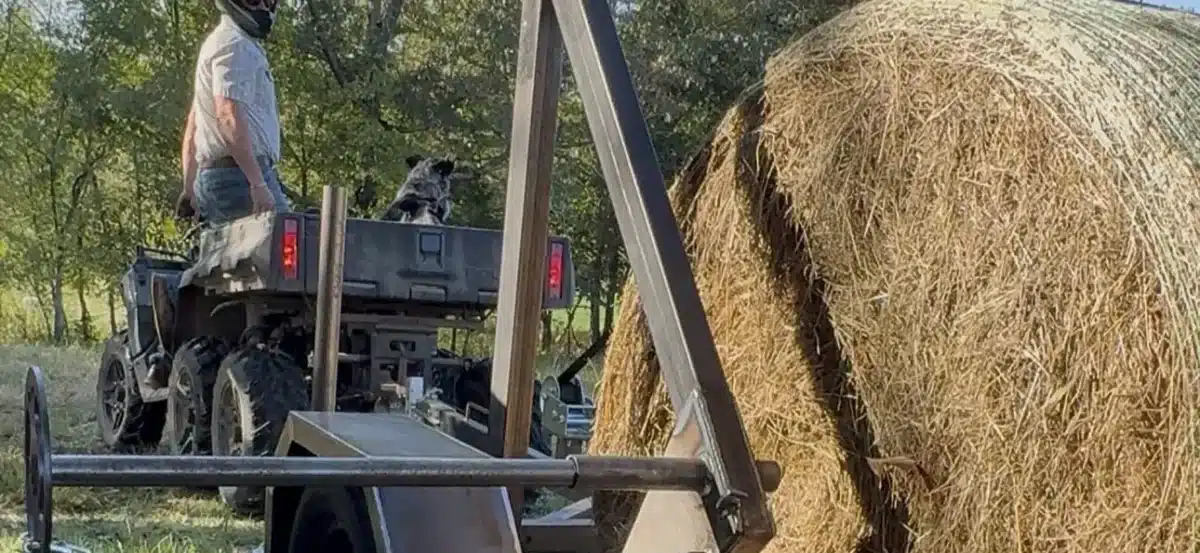
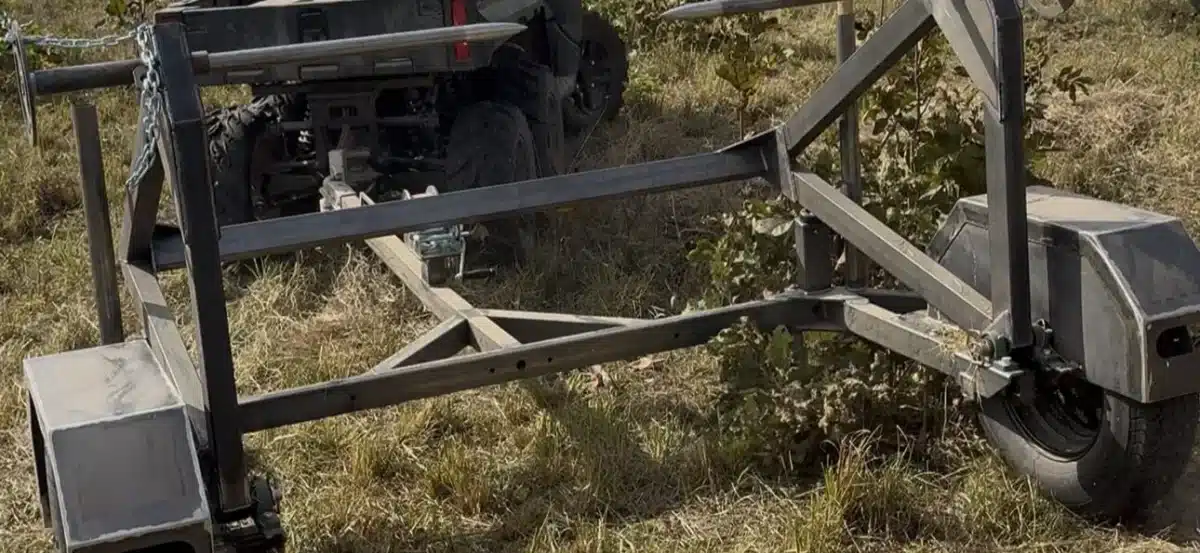
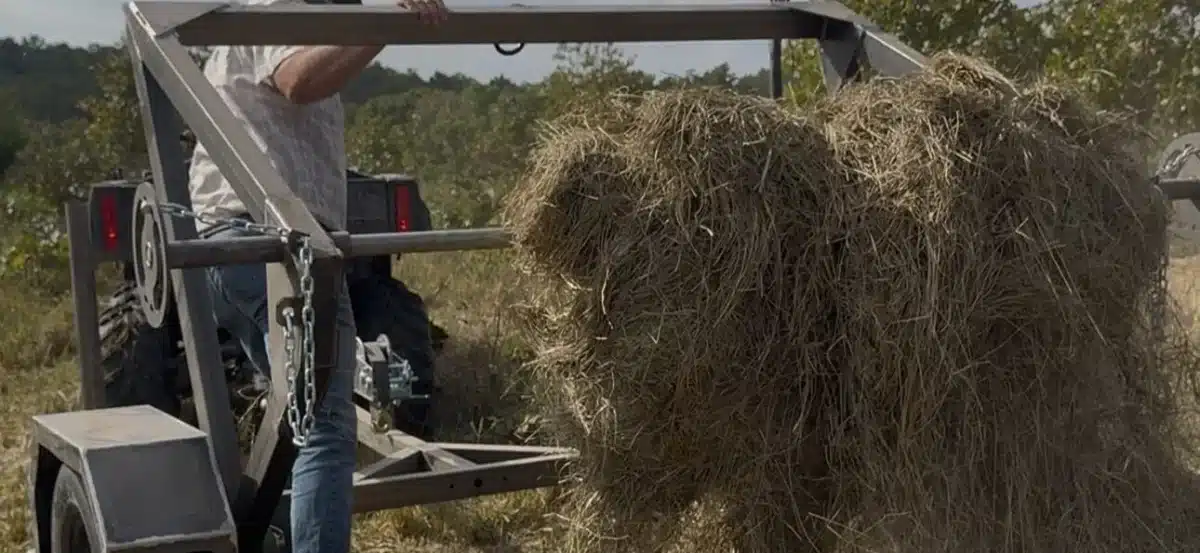
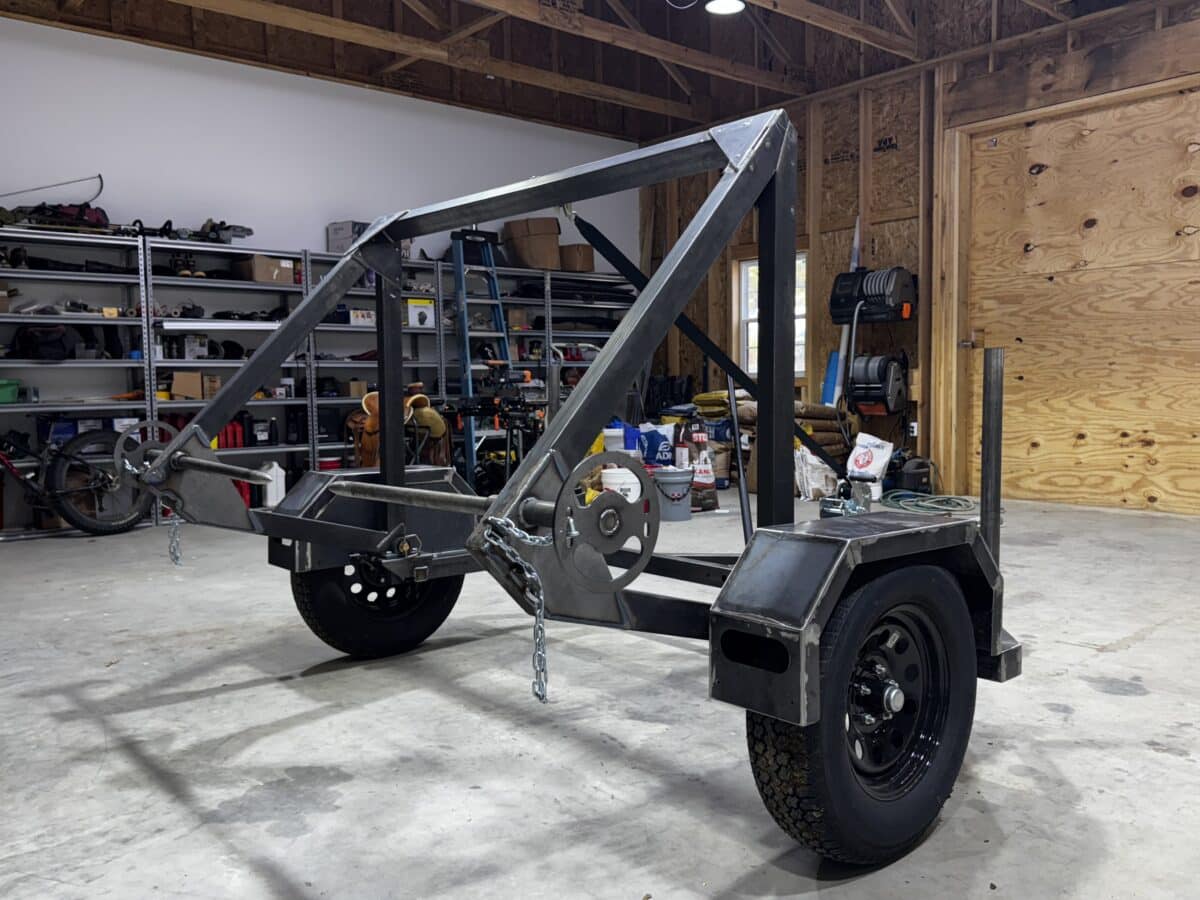
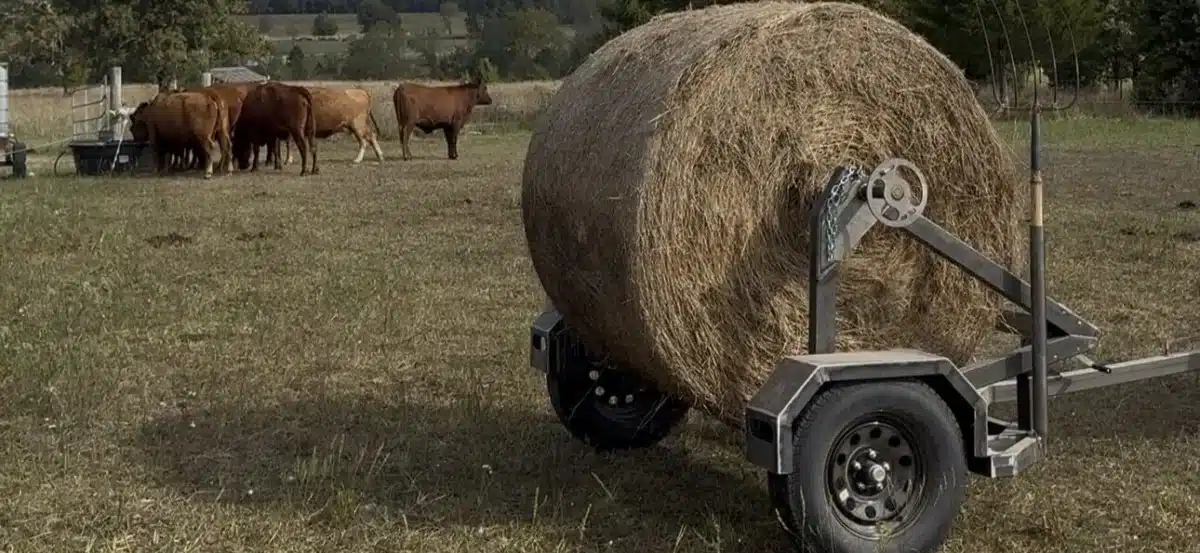
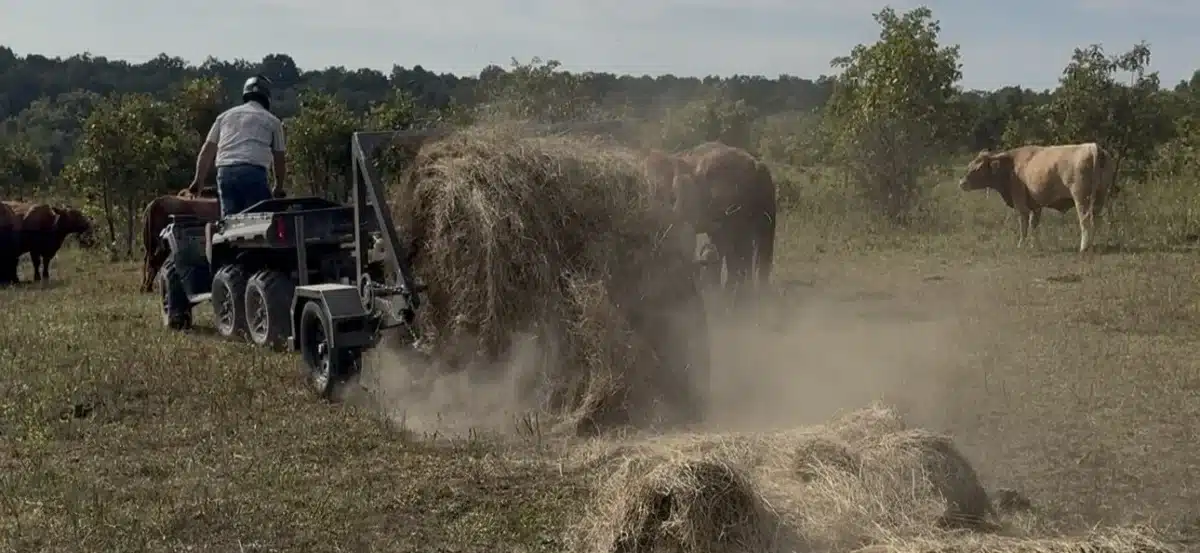
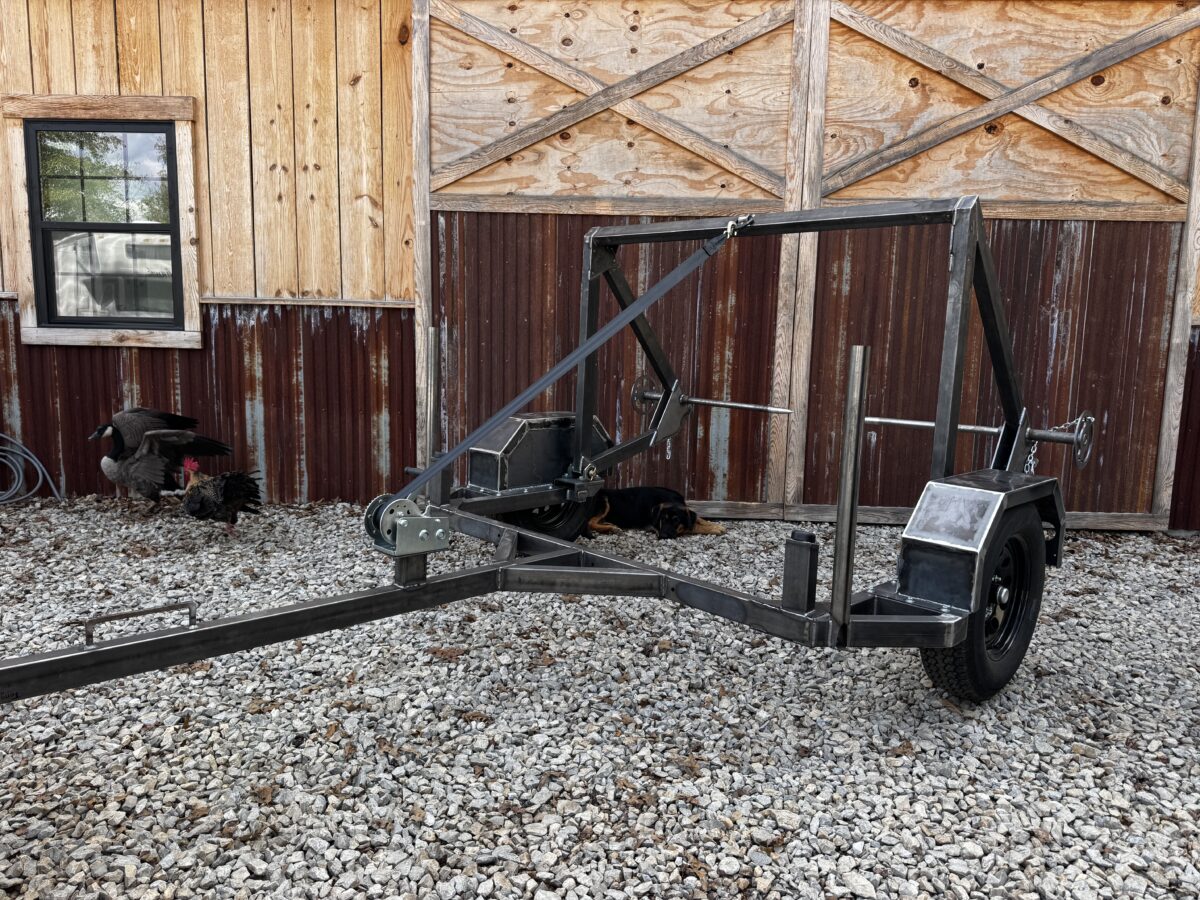
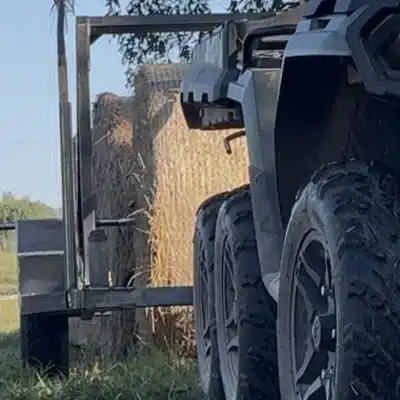
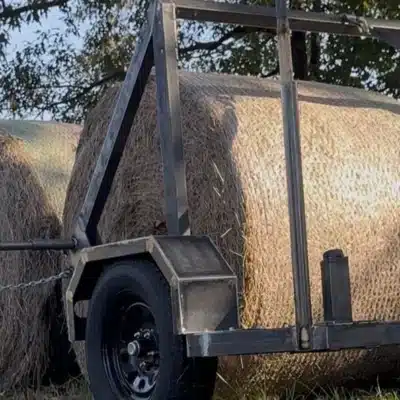
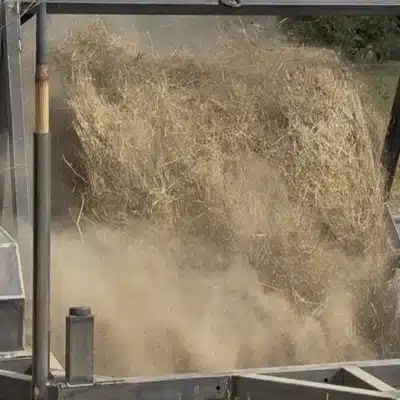
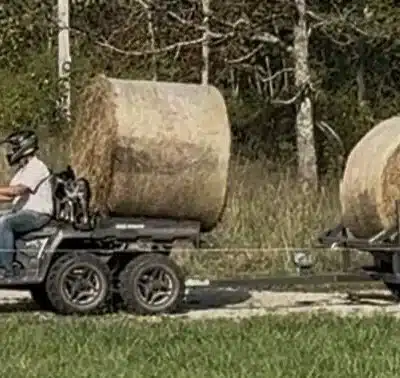
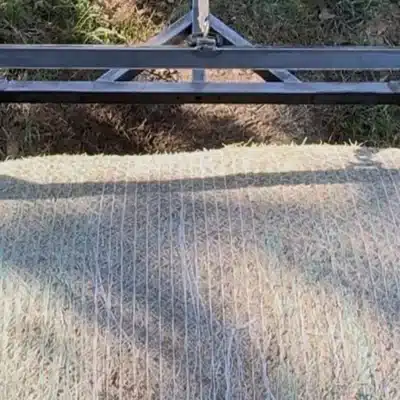
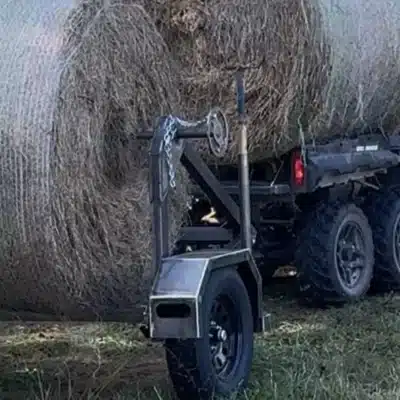
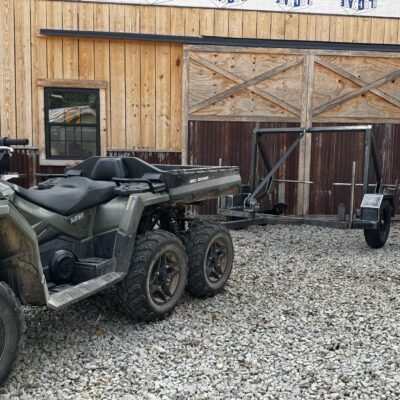
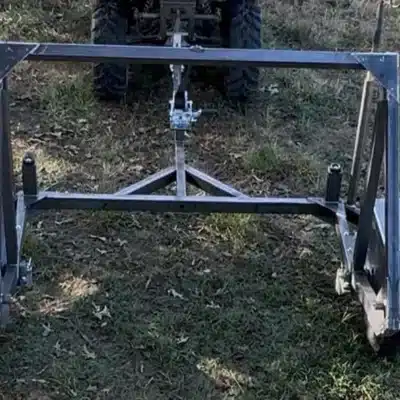
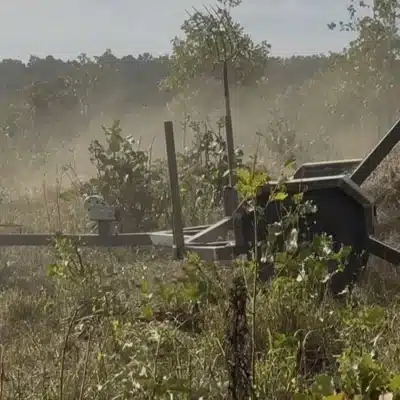
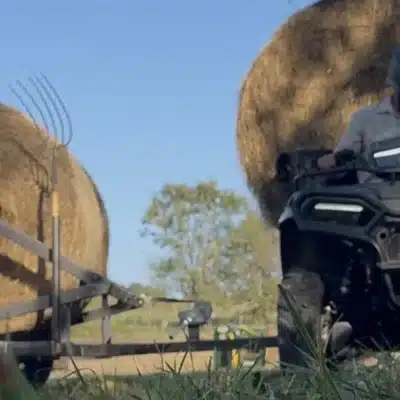
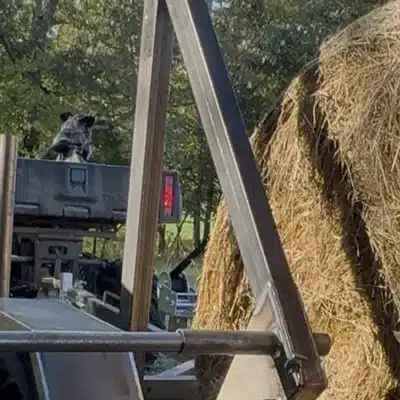
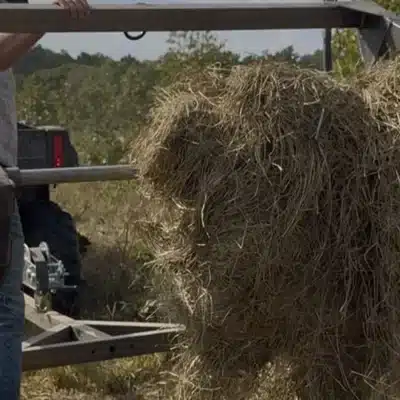
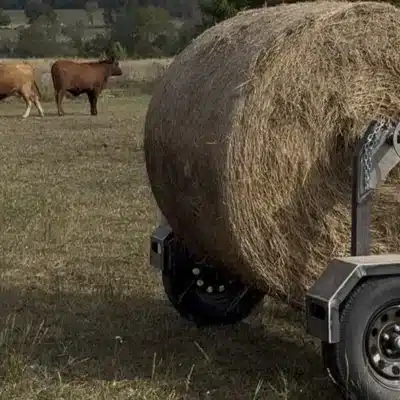
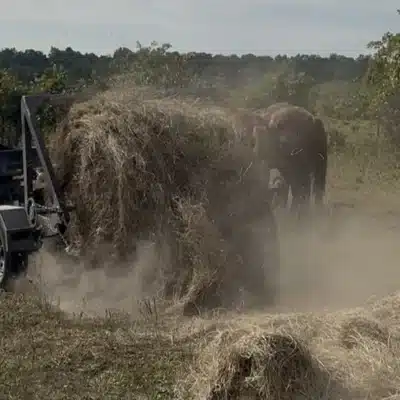
If you have no idea what we’re talking about, check out the video below! Basically, this is a specialty trailer designed to carry a single bale of hay so you can transport it as needed behind something even as small as an ATV/UTV, and once it’s positioned you can lower the bale and drag it to unroll!

Wes White
- Premium Quality
- Precision Engineered
- Nationwide Shipping
- Support Forums
What Makes the Bale Buggy Unique
Fully Engineered and Validated
The Bale Buggy is a fully-engineered, tested and validated design. You can view the complete 3D model on the 3D MODELS tab on this product listing, as well as our 73 page product guide. The kit utilizes oversized, laser cut tubular steel ensuring every hole, tab and slot is cut to within .2mm precision, and every angle is identical.
We obsessed over every single feature of the trailer for months. The center of mass, both loaded and unloaded, has been optimized. The geometry of the bale lifter assembly was perfected to ensure it doesn’t overload the tow vehicle, while also making sure it provides plenty of ground clearance for even large bales.
Safety Features
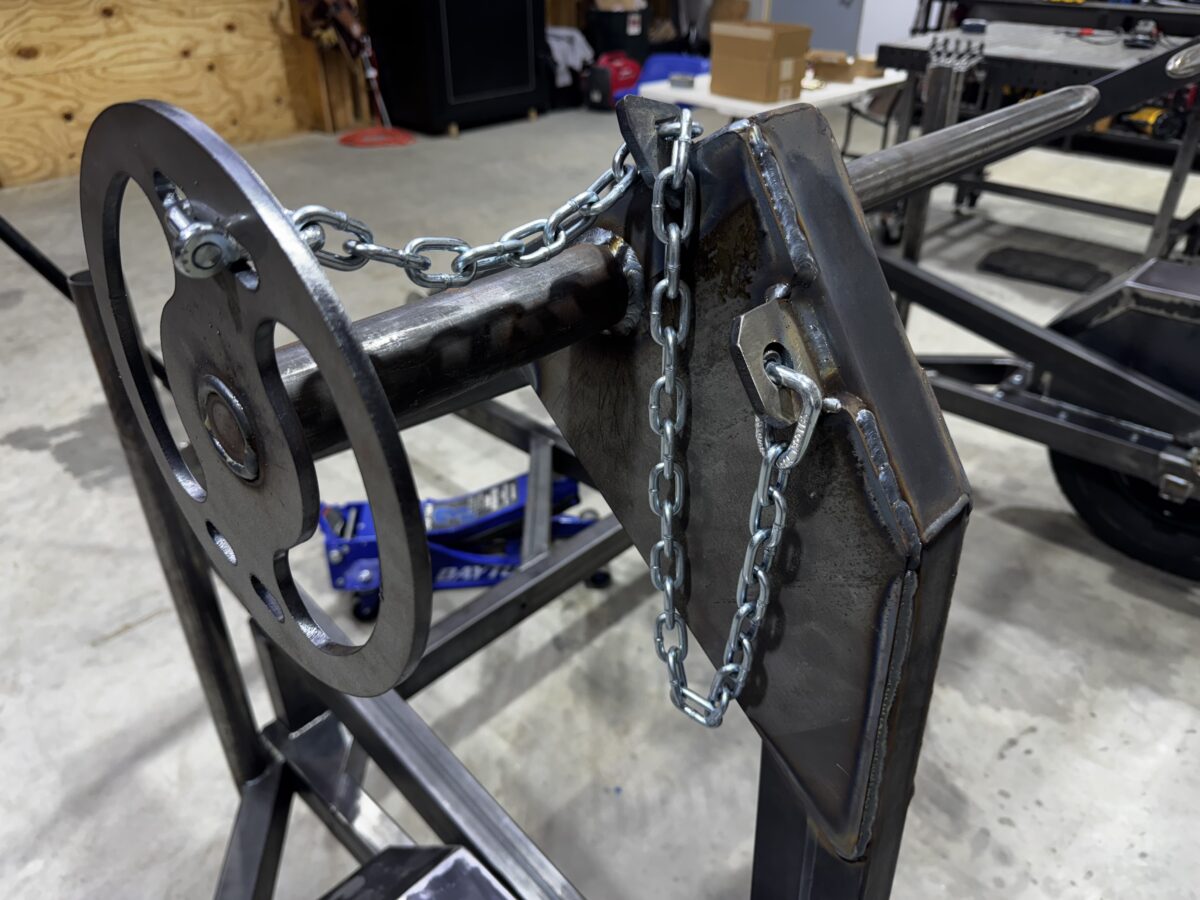
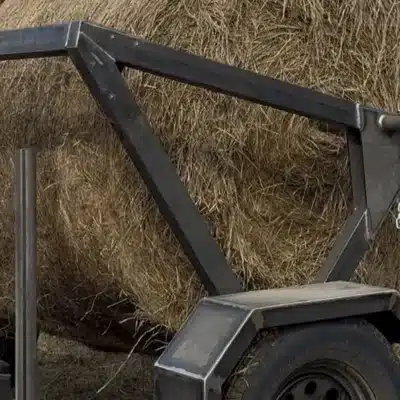
All gussets and reinforcement plates are laser cut from 1/4″A572-50 steel plate, the same material skyscrapers and bridges are built from. And each of the high stress points have multiple points of reinforcement, so you’re never relying on a single point of failure (like a weld). This ensures the trailer can handle rough terrain under maximum load. The last thing you need is a failure when you’re driving down the road, or in the middle of a herd.
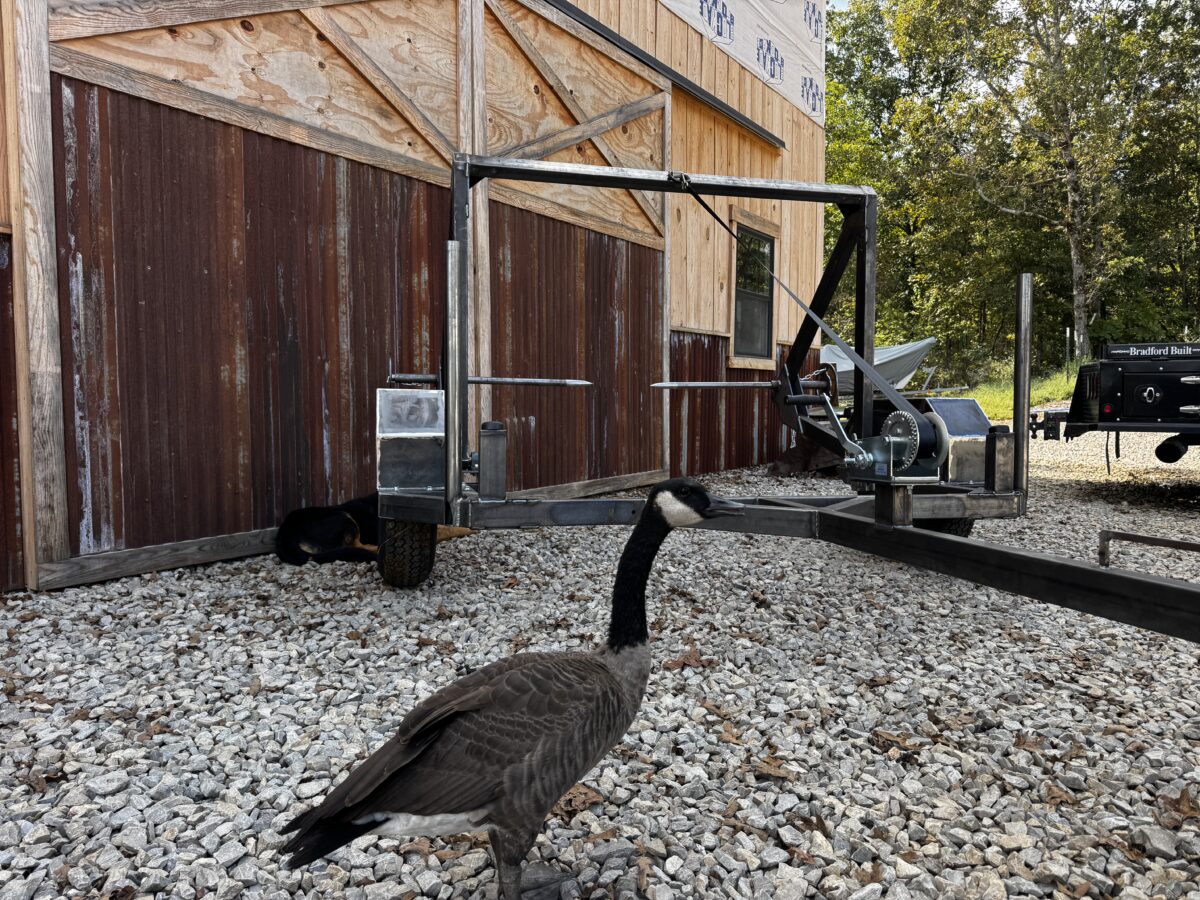
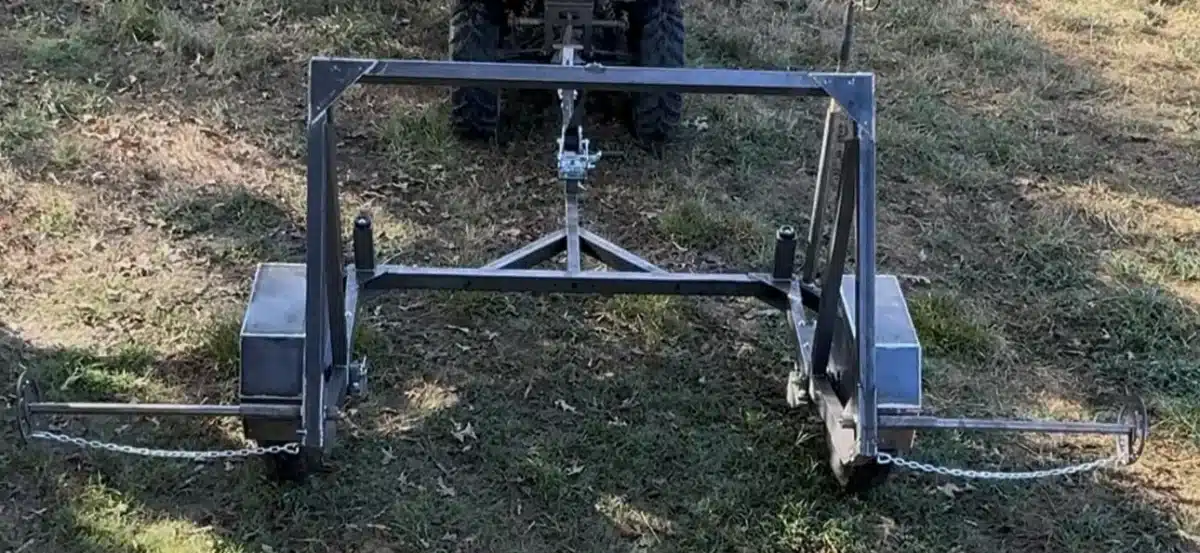
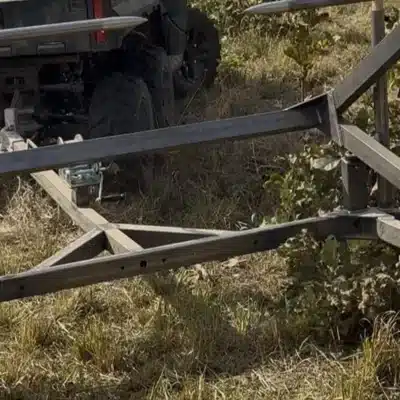
The Bale Buggy also looks after your animals, by incorporating cattle guards in front of the wheels to ensure they don’t just run over an animal. Additionally, the bale lifter assembly was optimized so the geometry doesn’t allow it to come crashing down on an animals head when a partial bale is flipped forward.
Roadworthy
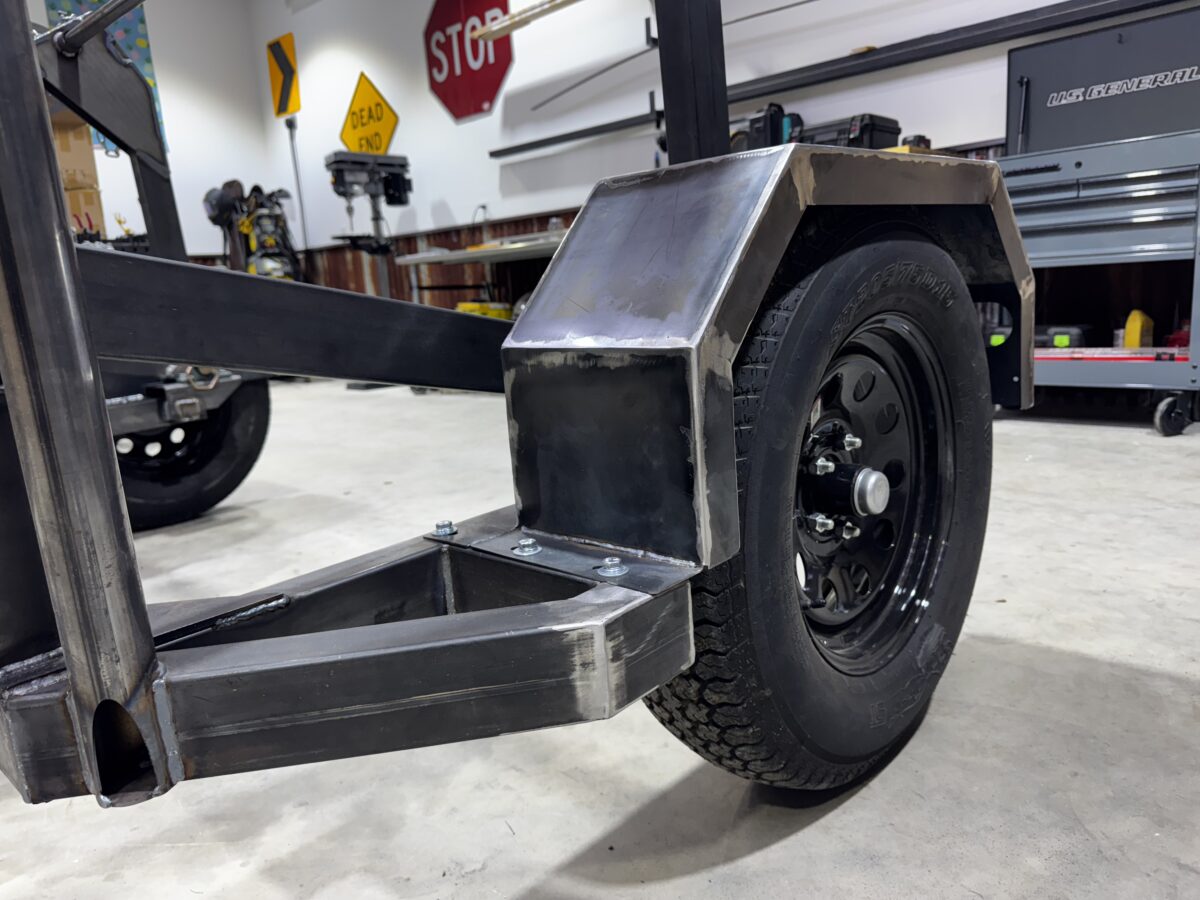
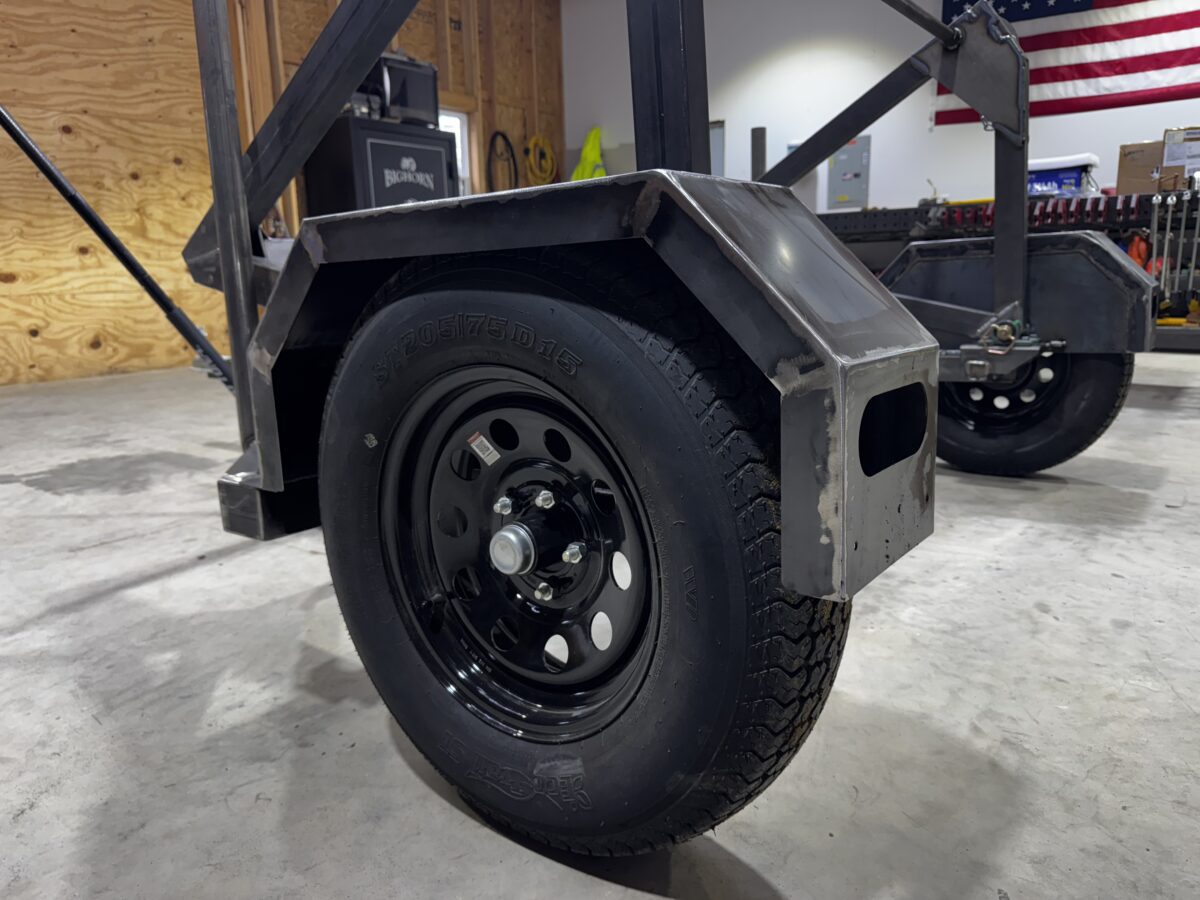
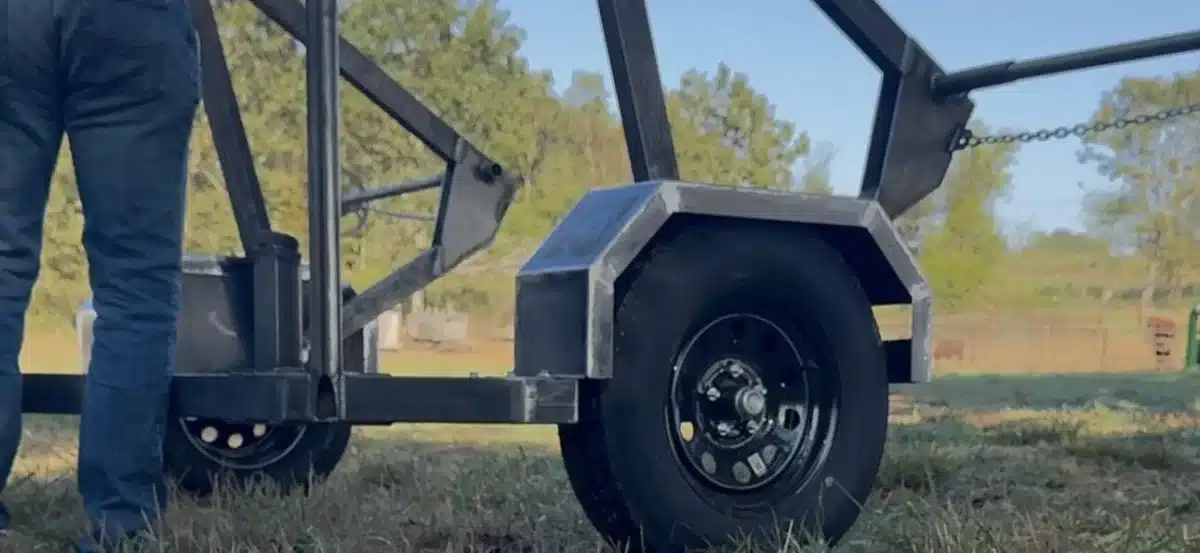
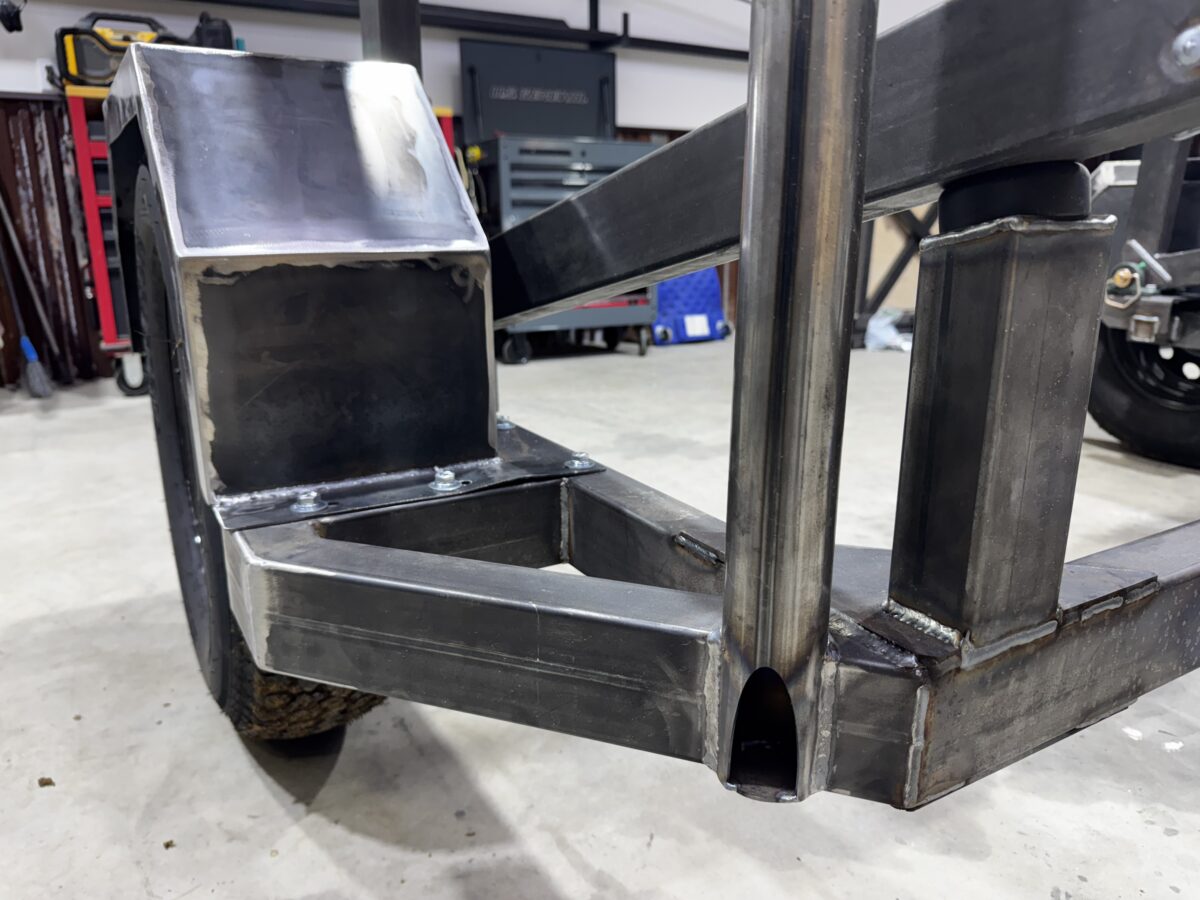
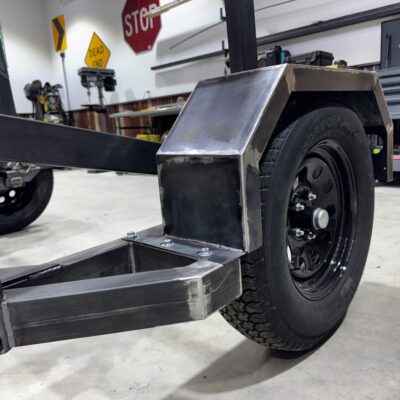
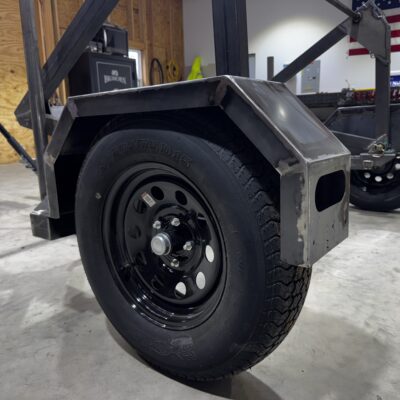
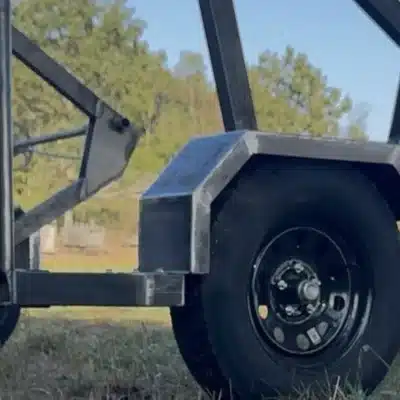
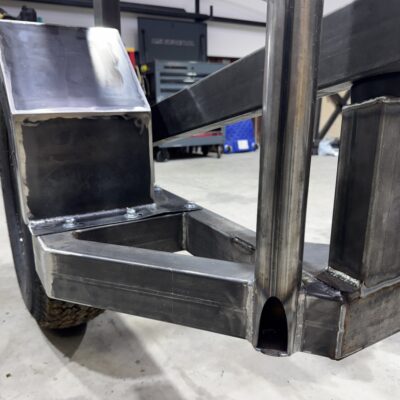
In addition to ensuring that the tubular structure is extremely strong and reinforced, we also provide fenders, precut slots for brake / turn signals, and routing holes throughout the tubing to ensure that all wires are fully protected.
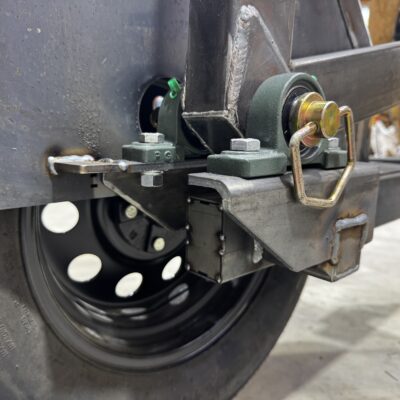
The cattle guards in front of the wheel assemblies also protect the buggy from stumps, trees or anything else you might inadvertently clip, so you don’t bend or break off a spindle. And speaking of the spindles, we include an entire spindle mount tubular assembly that passes through the frame, to ensure absolute perpendicularity of the mounting, and radically increased strength. It would be extremely unsafe to roll down the road at speed relying on nothing but one weld joint, on a crooked spindle.
What You Get
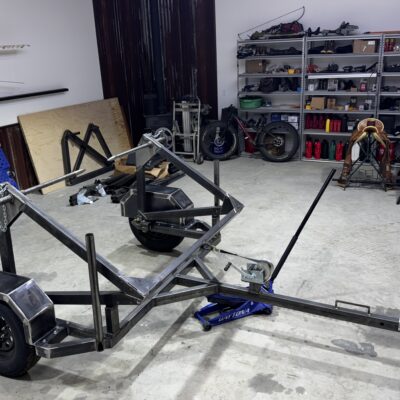
We offer the Hay Bale Unroller in kit form, where you’ll receive all of the steel components such as plate steel parts and steel tubing parts pre-cut and ready to go together. These parts are all tabbed and slotted whenever possible so they just snap together – however, you’re responsible for all of the assembly and most importantly the quality welding!
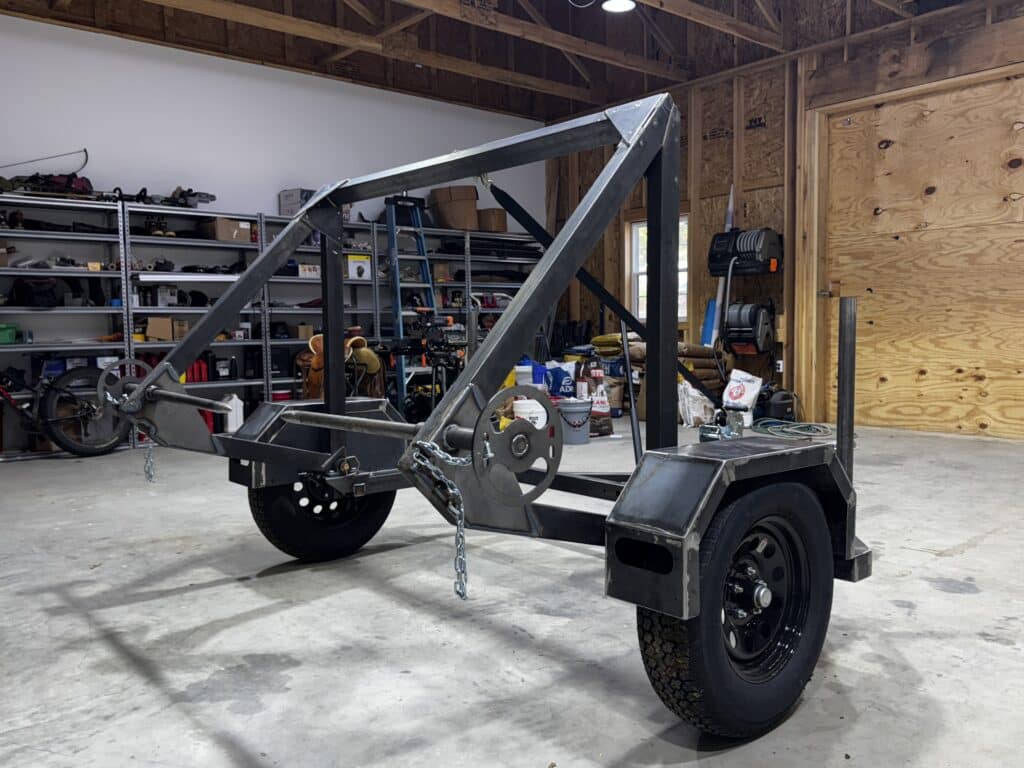
If you’re an experienced fabricator, this project should be very do-able. If you’re a beginner or novice, you can probably tackle it if you take your time and pay close attention to what you’re doing, but keep in mind that once you’re carrying a 1,000+ pound bale of hay, you do NOT want this thing coming apart! So if you have any doubt about your ability to pull this off – or you just don’t want to put in all the work – we also offer a fully finished kit which will come with all of the parts welded and powder coated, and you just bolt the main assemblies together. This allows us to ship the kit as a flat pack to save a lot on the delivery.
Assembly and Demo Video of the Bale Buggy Hay Bale Transporter
We’ve applied all our engineering and manufacturing know-how to ensuring this Do-it-yourself kit goes together smooth and easy. We’ve also engineered a number of additional features into our kits that simply don’t exist elsewhere.
- Precision Laser Cut – All of our kit’s plates and tubing are cut on our CNC Lasers. The accuracy of every cut should be within tiny fractions of an inch.
- Complete Modularity – Even after fabricating the components, our kit is fully disassemblable. This means it can be economically shipped, it could be disassembled for storage, and components can be easily replaced if they were damaged.
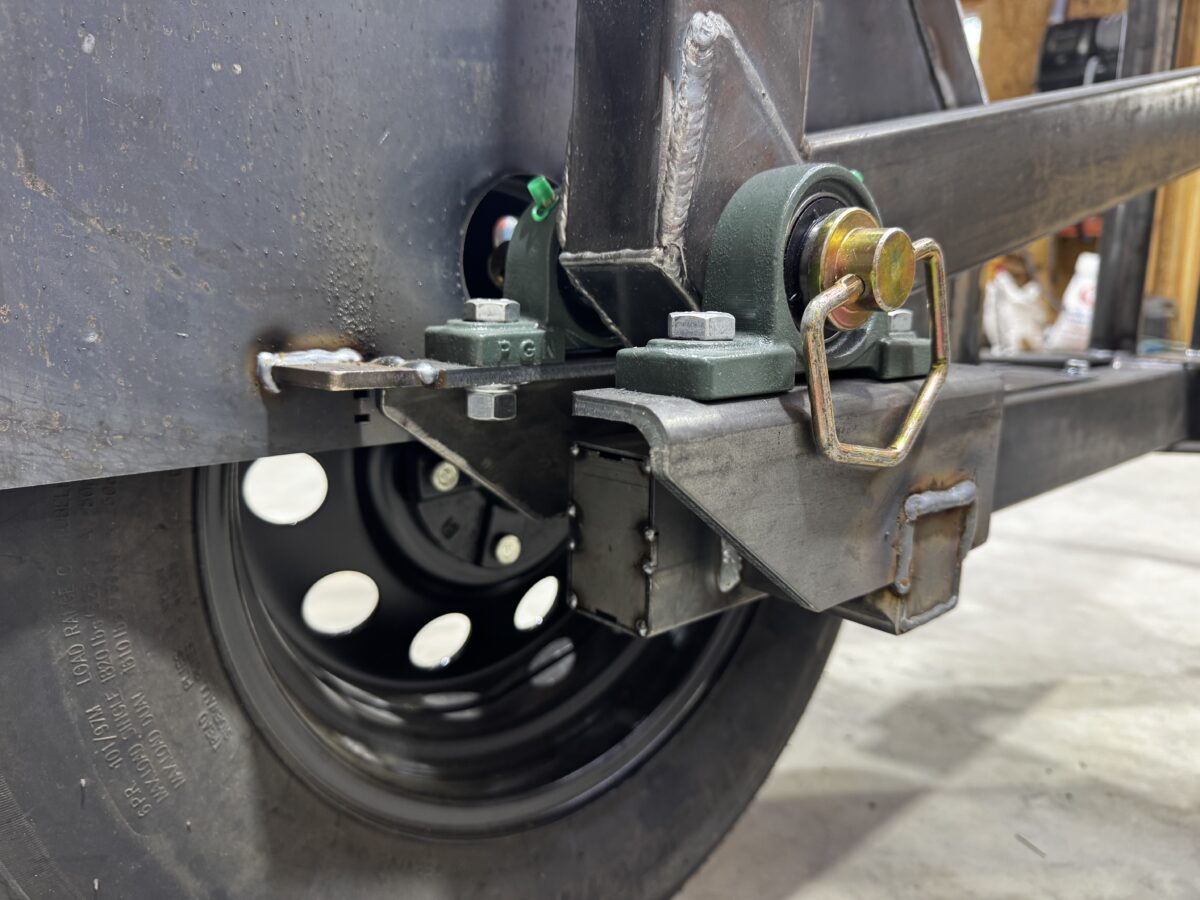
- Serviceability – Major components bolt on to ensure they are serviceable and replaceable in case of damage. From the wheel hubs, to the swivel bearings – it’s designed for years of use in the field.
Parts Not Included
Our DIY kit includes all of the structural components and everything that we build in house, but you’ll need to pick up a few additional items that can be found online, including:
- (2) – 2.5″ Trailer Ramp Door Bumpers ($10 on Amazon)
- These are used to cushion the bale holder arms in the upright, transport position.
- The key is to make sure the bumpers have room for a 3/8″ bolt to hold them.
- (2) – Spindles with 5-Bolt x 4-1/2 Inch Hub Assembly square shaft ($119 on Amazon)
- The spindles and hubs are what the wheels bolt on to.
- The spindles MUST have a shaft of 1-1/2″
- We recommend that each assembly have a 1,750lb weight rating.
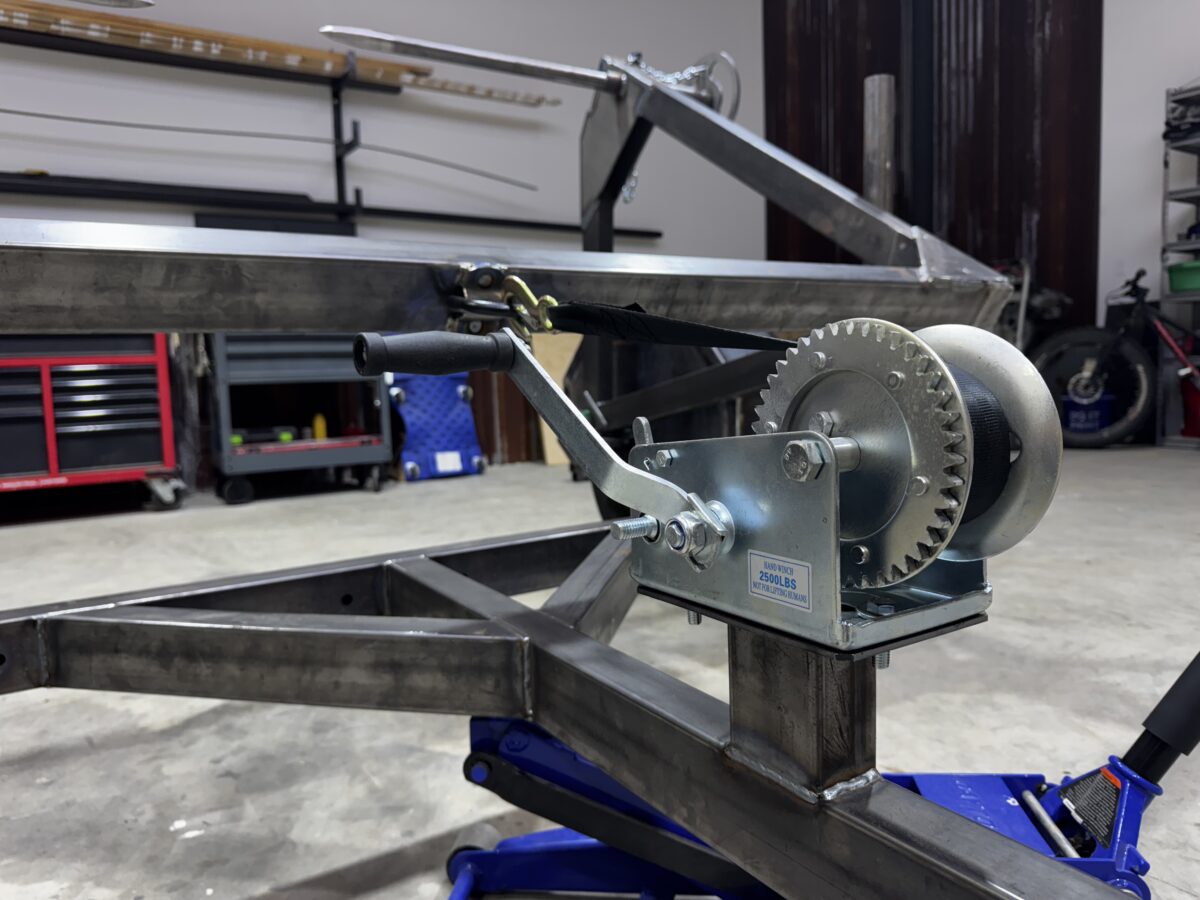
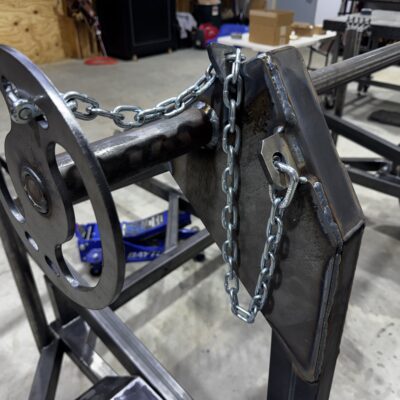
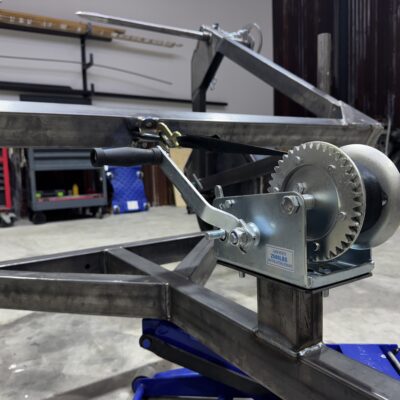
- (1) – Trailer Hand Winch ($30 on Amazon)
- Used to hoist the bale up for transport.
- (1) – Trailer Coupler ($20 on Amazon)
- This is the tongue for the trailer to attach to a hitch.
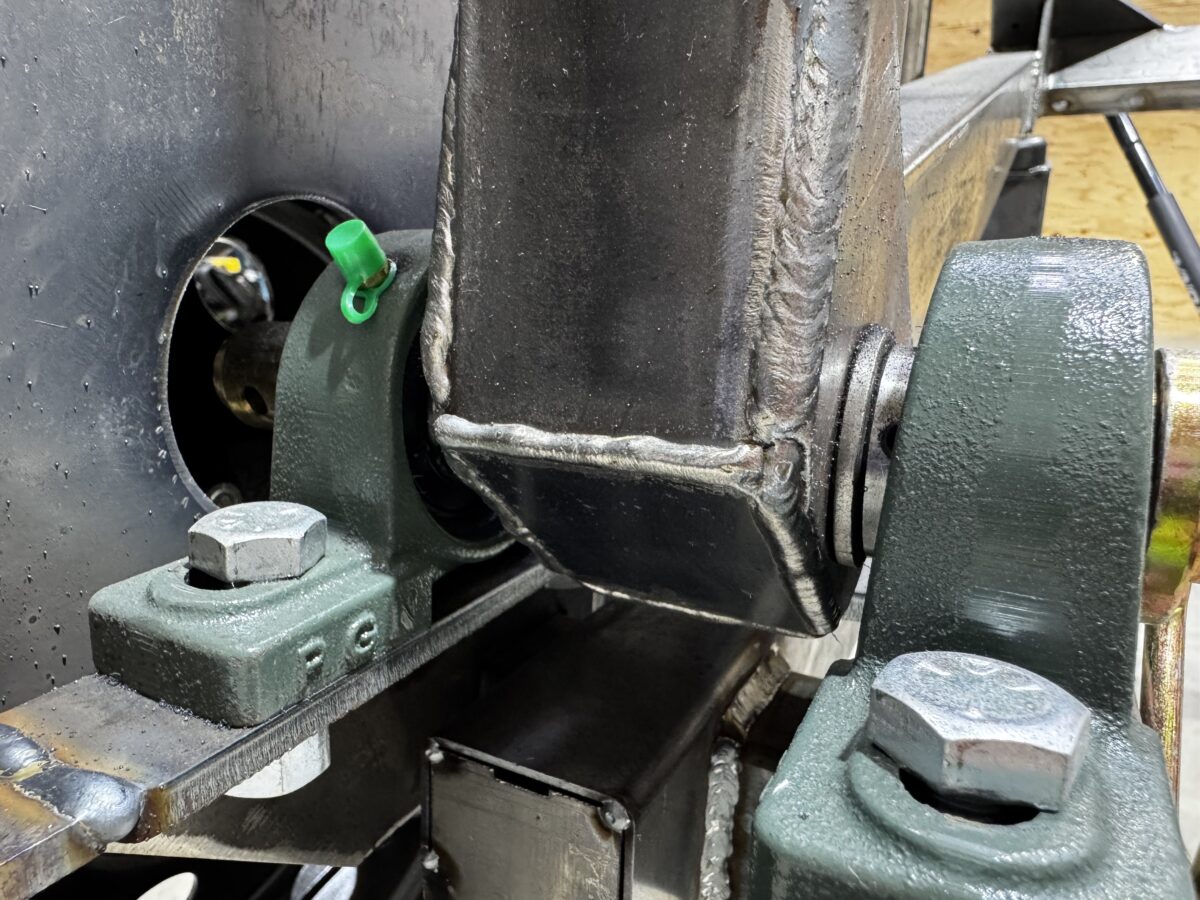
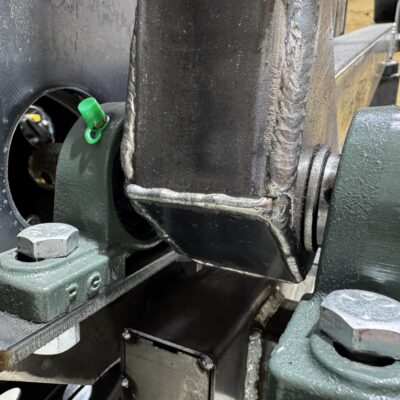
- (4) – 1″ Pillow Block Bearings – ($28 on Amazon)
- We use the bearings to attach the bale holder arms.
- This eliminates friction and ensure serviceability for the long run.
- (2) – Clevis Pin 1″ X 6 1/4″- ($22 on Amazon)
- This is the core of the pivot for the Bale Unroller Mechanism, so it needs to be strong.
- It needs to be 1″ diameter and at least 6″ of usable length
- (2) – 5 Lug On 4-1/2″ Center Wheels and Tires ($200 on Amazon)
- IMPORTANT: Make sure the wheels have the same bolt pattern as the hubs! (5 bolts on 4-1/2″ centers)
- (4) – Oil-Embedded Sleeve Bearing ($20 on Amazon)
- This eliminates friction and ensure serviceability for the long run.
- In case that you cannot find this exact bearing, any other that is flanged and has an ID of 1″, OD of 1-1/4″ will suffice
- (6) – Rubber Grommets ($10 on Amazon)
- This will allow you to seal as much as possible the frame, to avoid critters inside and mud buildup leading to rust
- The holes on the frame are 1″ in diameter
- (2) – Oval Trailer Lights ($14 on Amazon)
- This is a great kit in case you want to install lights to have the trailer on the road
- (1) – Weld-on Tie Down D-Ring ($11 on Amazon)
- Any Heavy-Duty D-Ring anchor should work, as long as it can be welded. We recommend this 5/8″ weld on D-Ring
So the grand total is approximately $480 to accompany the kit, and you might want to spend another $50 on paint. 🙂
Project Notes
- There are access holes cut in the tubing throughout the frame to allow for the routing of wiring should you need to install a lighting kit.
- The trailer does come with fenders. They are in flat pack form, and you bend them by hand and then seam weld and grind everything. It’s a little work, but it helps save a bundle.
- The fenders are only sized to accommodate up to 205/75R15 tires. The chassis could take larger tires/wheels, but you may need to modify a few things.
The fully assembled Bale Buggy includes everything, so no need to order anything else if you opt for us to build it.
| Options | DIY Kit, Fully Assembled |
|---|

